

AI Uncrop for Print Bleed: Extend Edges Without Losing the Design
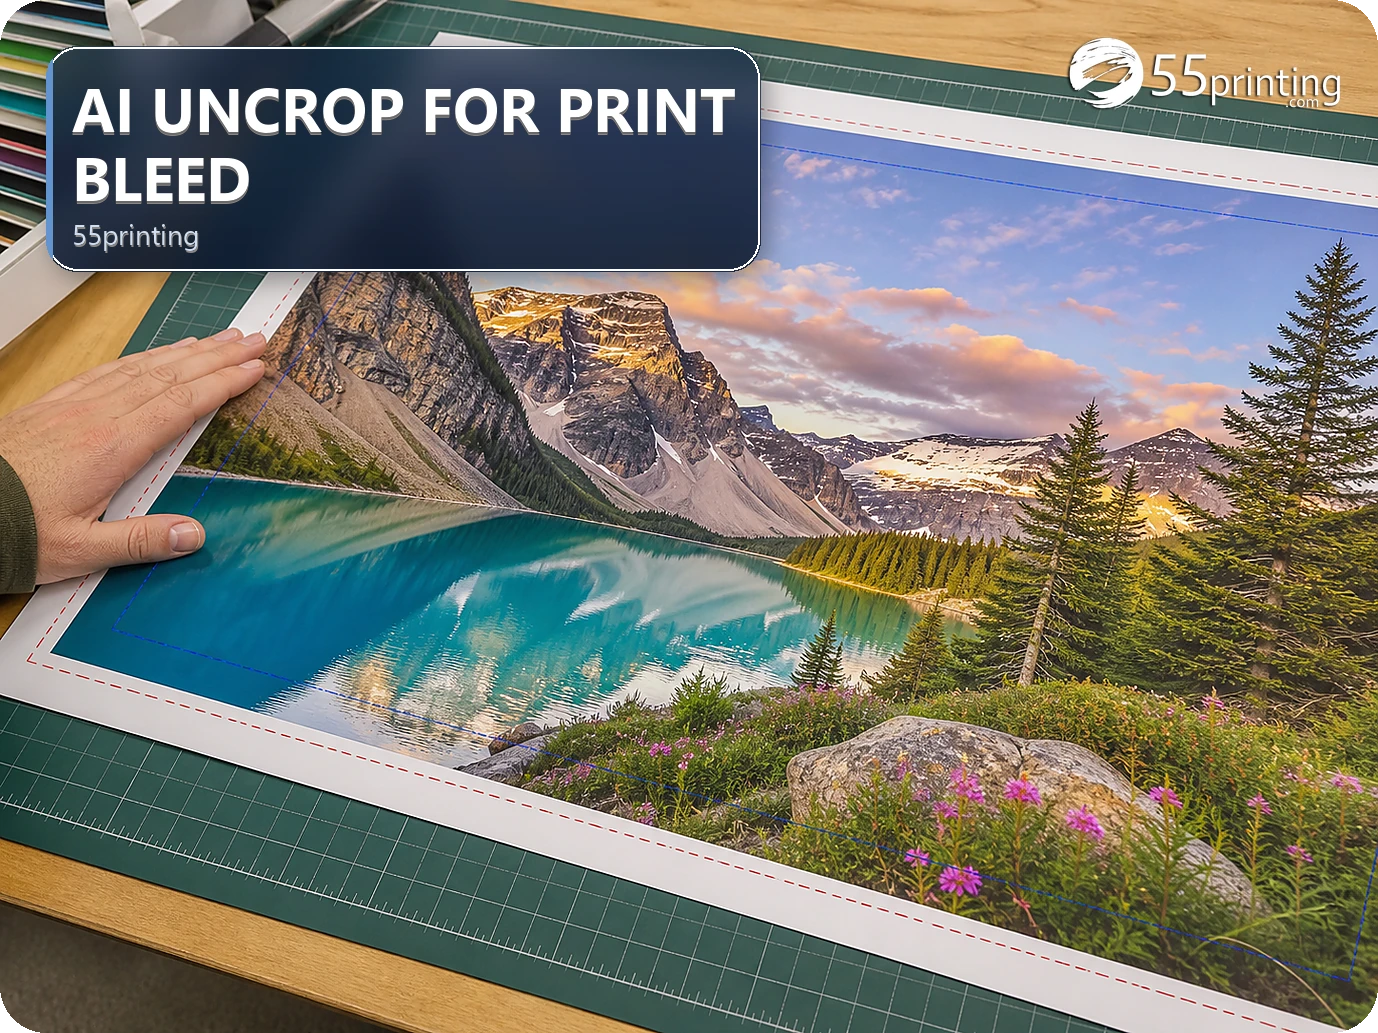
Use AI Uncrop when a suitable background needs extra room beyond the trim. Save the original, select the correct product size, inspect the generated edge, and reject the result when it changes a face, product, logo, or message. AI Uncrop can help with background coverage, but it does not approve the design or replace a free PDF proof.
A design can look finished on screen while its background ends exactly at the trim. That edge may leave a white sliver after cutting. AI Uncrop from 55printing is a useful test when the missing area is background that can continue naturally. It becomes risky when the edge contains a face, product, logo, QR code, or wording that must remain exact.
What should you diagnose before using AI Uncrop?
Identify the finished product and the edge that needs coverage. A full-bleed postcard image, a flyer background, and a business card with a person near the trim do not carry the same risk. Keep the original export, mark the intended trim, and decide how much background needs to continue outside it.
Look at the edge content. A flat color, wall, sky, paper texture, or simple pattern may be a reasonable candidate. A person, hand, product package, logo, or line of type needs closer review. The tool can extend pixels, but the reader needs the final design to preserve the original subject and message.
- Confirm product size and orientation first.
- Keep important text inside the safe zone.
- Record which edge needs extension.
- Preserve the original file for comparison.
How should you run the first AI Uncrop test?
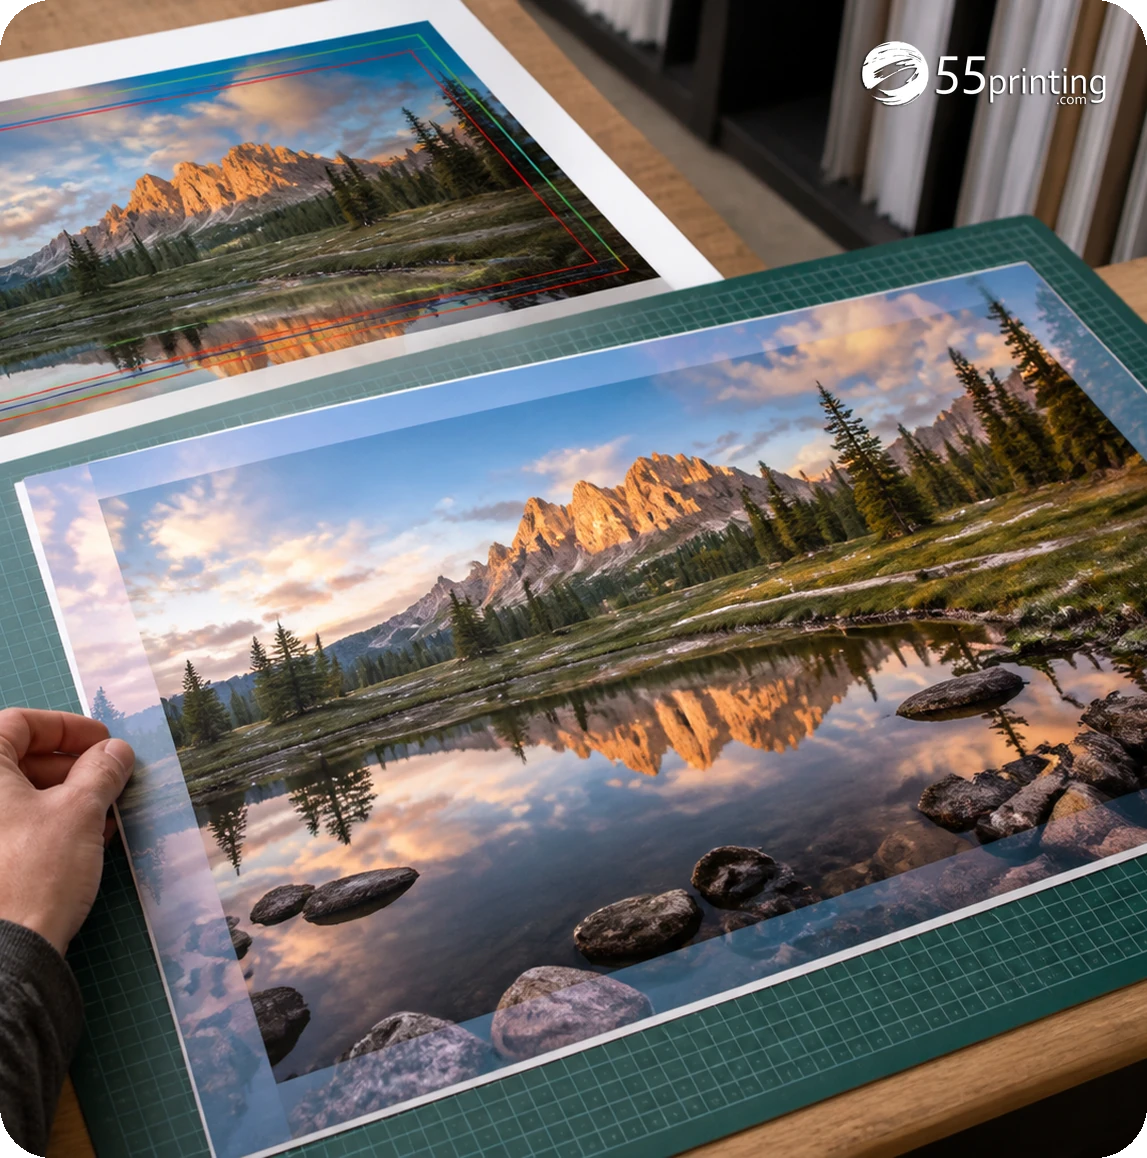
Open the tool from the current route, use the saved source, and choose the product context that matches the intended finished file. Run one small, traceable test instead of making several edits at once. Name the result with a version number and note which edge was extended.
Place the result back into the layout and check it at the intended size. A generated edge that looks smooth when zoomed out may show a repeated pattern, bent line, or strange texture at normal reading distance. Keep the original beside the output until the proof stage is complete.
| Edge situation | First decision | Review risk |
|---|---|---|
| Plain background ends at trim | Test AI Uncrop | Look for seams and texture repeats. |
| Face or hand reaches trim | Use manual layout or source photo | Generated anatomy can look wrong. |
| Product package reaches trim | Protect the product edge | Generated labels or contours can change. |
| Logo or QR code reaches trim | Rebuild with safe margin | Exact marks must not be invented. |
| Text is close to trim | Move it inside safe zone | Bleed does not protect readable content. |
What should you inspect in the extended area?
Check the generated strip from left to right and from the trim inward. Look for abrupt texture changes, repeated objects, bent straight lines, invented lettering, altered faces, and edge patterns that compete with the original design. Compare the result with the source at both full layout size and close zoom.
- Confirm the original subject is unchanged.
- Check that background coverage reaches beyond trim.
- Inspect faces, hands, products, and logos at close zoom.
- Remove or rebuild the result if the extension adds a false claim.
- Export a version that keeps the product and size traceable.
- Review the free PDF proof before approval.
When does manual editing win?
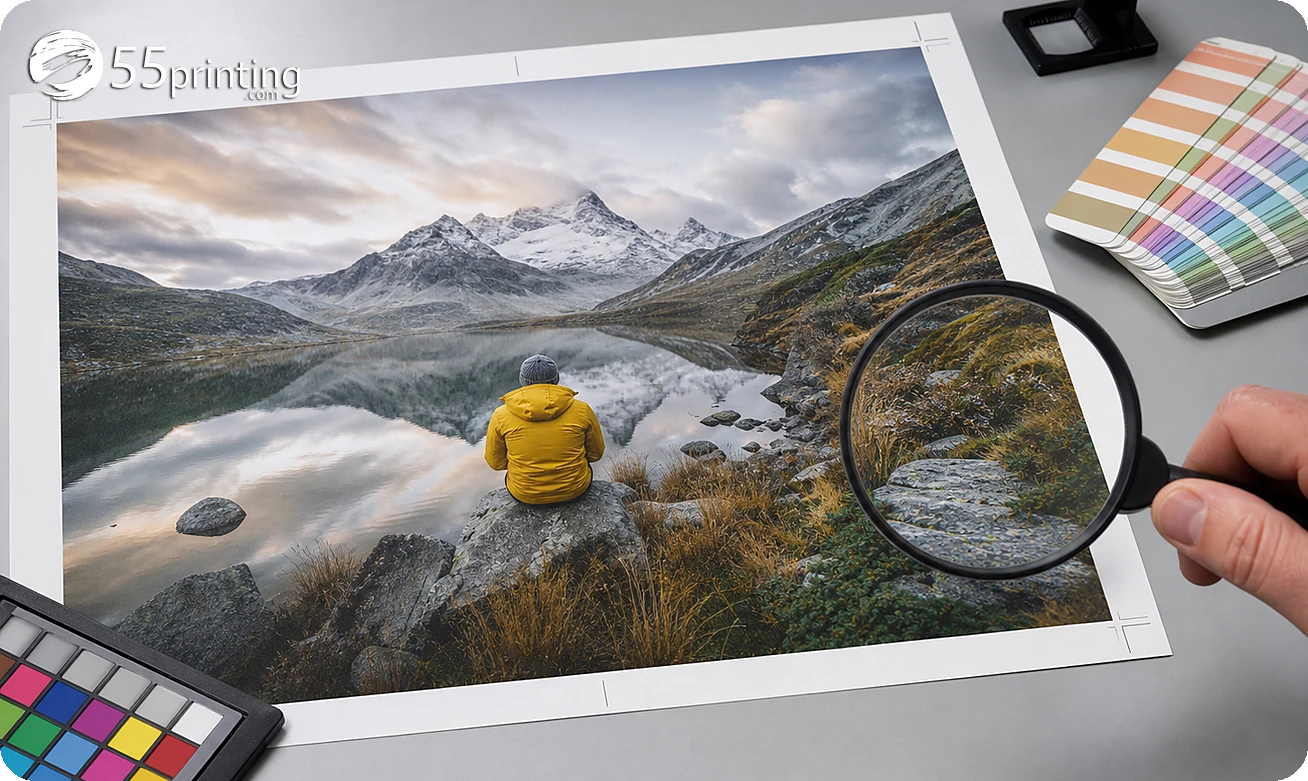
Use a source photo, a designer, or a manual background rebuild when the edge carries an exact subject. Manual work gives you control over the crop, repeated pattern, product silhouette, and brand mark. It may take longer, but it keeps the design decision visible instead of hiding it inside a generated extension.
Use the matching guideline template when the larger issue is product size or safe zone. AI Uncrop cannot fix a wrong canvas, misplaced phone number, or missing panel. Solve geometry first, then use an edge tool only when the remaining defect is truly edge coverage.
What happens after the edge looks right?
Inspect the entire file, not just the new strip. Confirm page order, crop, text, logo, product size, bleed, and safe zone. Send the version through the File Uploader with notes that identify the edge change. Then compare the free PDF proof with the original and repaired file.
Which jobs are good and poor candidates?
Full-bleed sky on a postcard
A smooth sky may be a reasonable test. Inspect for banding and repeat patterns, then check the full crop in proof.
Portrait flyer with a face at the edge
Move the portrait inward or rebuild the background manually. Do not let a generated face extension decide the subject.
Restaurant menu with text near trim
Move the text into the safe zone first. A background extension cannot protect a word that is already too close to the cut.
What number should you write down after the edge looks acceptable?
Inspecting the extended band for seams is already the job of this article. Put a measurement beside that look. Open Print Clear on a copy of the extended image. The hub entry dated in this refresh, October 9, 2026, says it reports effective PPI, whether the print size fits, and color signals. Record the PPI with the print size you plan to order.
Print Clear does not rebuild a weak photo, and a PPI figure is not a promise of sharpness. When the figure is poor for that size, abandon the extension and return to the source choice above. When the figure is usable and the band still looks honest, send both the file and the note to the proof.
Questions customers ask
What is AI Uncrop useful for in print?
It is most useful as a first test when a simple background needs extra room beyond the trim. Save the source, choose the correct product context, inspect the generated strip, and reject the result if it changes a face, product, logo, QR code, or wording.
Can AI Uncrop create bleed?
It can help extend suitable background artwork beyond the intended trim, which is one part of a bleed workflow. It does not decide the finished size, protect text, or approve the layout. Keep the generated area traceable and review the full file and proof.
Should I use it on a face near the trim?
Use caution and prefer a manual crop or a source image with more room. A face, hand, or product edge carries exact visual meaning, and generated anatomy or contours can change it. Do not approve an extension until the subject still matches the source.
What should I inspect after uncropping?
Review the new strip for seams, repeated textures, bent lines, invented lettering, altered faces, product changes, and marks that compete with the design. Check both close zoom and normal reading size, then inspect crop, safe zone, page order, and proof.
Can it fix a wrong flyer size?
No. A background extension does not change a wrong product canvas into the correct one. Download the matching guideline template or rebuild the document first. Once the finished size and safe zone are correct, decide if an edge extension is still needed.
What if the generated edge changes a logo?
Reject that output and return to the source or a manual rebuild. A logo is an exact brand mark, so a smooth-looking invented edge is still wrong. Keep the original file, request a vector or larger asset when possible, and mention the issue in the proof notes.
Does AI Uncrop replace a PDF proof?
No. The tool addresses a possible edge problem. A proof still checks the product, crop, text, logos, page order, safe zone, and the generated area at the proposed production size. Approve only after the proof matches the intended source and layout.
What should I write in the upload note?
Identify the product, finished size, side, final filename, and edge that was extended. Say that the generated area needs review in proof. Clear notes help the reviewer focus on the changed region while still checking the complete file for crop and content.
Use AI Uncrop for a suitable background, inspect every generated detail, and keep proof review as the final checkpoint.