

LAST UPDATE: 10 / 15 / 2026
15 Brochure Printing Mistakes Customers Make (And How We Fix Them Free)
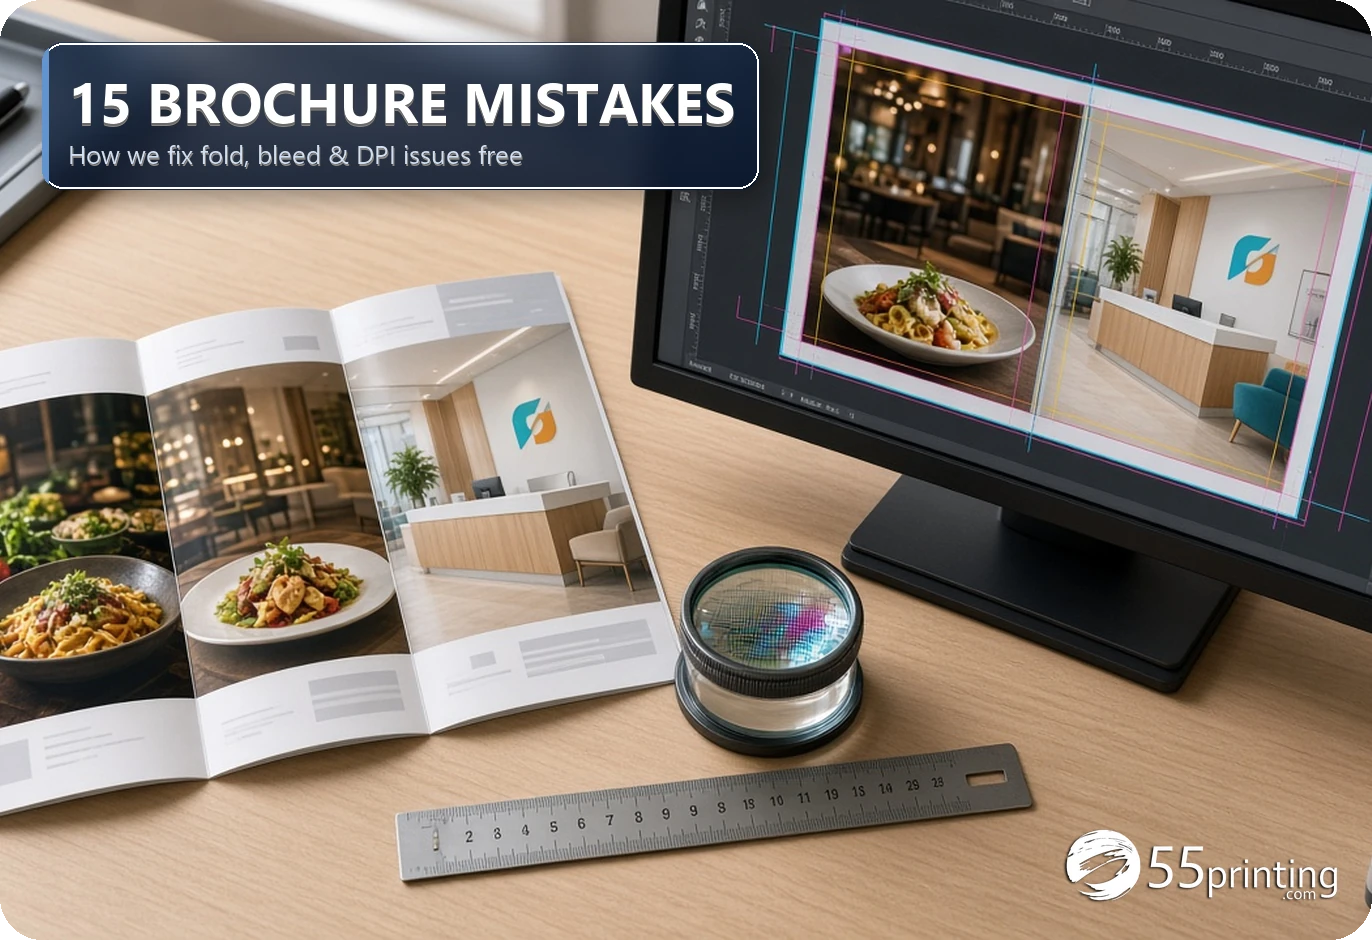
The top brochure printing mistakes are dividing an 8.5x11 tri-fold into three equal columns instead of a narrower 3.62-inch tuck flap, mixing up Z-fold and tri-fold panels, skipping the 0.0625-inch bleed, and uploading low-DPI art. Every 55printing order includes a free 101-point proof check, free file swaps, and free 4x AI quality enhancement.
A dental practice manager exports a two-page tri-fold PDF from Canva at 4:30 PM on Thursday for a Monday community health fair. On her laptop screen, the three columns look centered and even. If an automated web-to-print queue sent that file straight to an offset folder, the clinic logo would fold around the left spine, the back mailing panel would land on the front cover, and a thin white sliver would run along every trimmed edge. With 250 full-color 8.5″ x 11″ tri-fold brochures on 100 lb Gloss Book with Aqueous Coating priced at $112.44 for print ($129.87 delivered via Ground to ZIP 33140, checked October 15, 2026), an unreviewed file error wastes real marketing budget and event time. Here is a complete look at the brochure printing mistakes our prepress desk sees every day on custom brochure printing orders, and how 55printing helps you resolve them for free before ink touches paper.
Why does customer brochure art almost never fall into the fold guidelines?
Nine out of ten brochure printing mistakes start with a single math assumption: dividing an 11-inch horizontal sheet by three and building three identical 3.667-inch columns. Flat screen rulers in Canva, Microsoft Publisher, Word, and even blank Illustrator artboards default to equal thirds. Real offset folding machines do not fold a tri-fold (also called a letter fold or roll fold) into equal thirds, which is why equal-column brochure printing mistakes show up in nearly every first-time upload.
When a sheet of 100 lb Gloss Book paper folds inward twice, the outside-left panel rolls inside the other two panels. If all three panels measured 3.667 inches wide, the inner panel would hit the right-hand fold crease from the inside, forcing the brochure to bow open, telescople sideways, or crush its own edge. To make the finished brochure lie crisp and flat, bindery rollers set the tuck-in panel narrower than the cover and center back panels.
On the official 55printing 8.5″ x 11″ tri-fold guideline template, the full-bleed press sheet measures 11.125″ x 8.625″ (3894 x 3019 pixels at 350 DPI, which is an 11″ x 8.5″ trim plus 0.0625″ bleed on each of the four walls). When our prepress pipeline mounts your artwork under the official template rings and gray dashed fold columns, the fold lines fall at exact asymmetric pixel coordinates that flip between Page 1 (Outside) and Page 2 (Inside):
| Sheet Side & Panel | Brochure Role when Folded | Trim Width | 350 DPI Pixel Span | Gray Fold Line Location |
|---|---|---|---|---|
| Page 1 (Outside) – Panel 1 (Left) | Inside Tuck Flap (rolls inward) | 3.62 in | px 0 to 1289 | First fold at x = 1289 px |
| Page 1 (Outside) – Panel 2 (Center) | Outside Back Cover (mailing / contact) | 3.69 in | px 1289 to 2580 | Second fold at x = 2580 px |
| Page 1 (Outside) – Panel 3 (Right) | Outside Front Cover (opens first) | 3.69 in | px 2580 to 3894 | Right trim edge (cut at 22 px inset) |
| Page 2 (Inside) – Panel 4 (Left) | Inside Left Panel | 3.69 in | px 0 to 1314 | First fold at x = 1314 px |
| Page 2 (Inside) – Panel 5 (Center) | Inside Center Panel | 3.69 in | px 1314 to 2604 | Second fold at x = 2604 px |
| Page 2 (Inside) – Panel 6 (Right) | Inside Right Panel (back of tuck flap) | 3.62 in | px 2604 to 3894 | Right trim edge (cut at 22 px inset) |
Notice what happens between Page 1 and Page 2: the narrow 3.62-inch tuck flap sits on the far left of the Outside sheet (ending at pixel 1289), because when you flip the sheet horizontally to print the Inside spread, that same narrow flap sits on the far right (starting at pixel 2604). When a customer builds three equal columns without our template, the vertical border between Panel 1 and Panel 2 lands at pixel 1298 instead of 1289 on the outside, and at pixel 2596 instead of 2604 on the inside. Even a 9-to-25-pixel drift is enough to put a colored panel divider, a price digit, or a doctor’s portrait directly across the fold crease.
When we run your pre-proof at 55printing, we composite the real gray dashed fold lines (`x = 1289 / 2580` outside and `x = 1314 / 2604` inside) plus the magenta cut line and cyan safe zone directly over your art. Catching fold-line brochure printing mistakes at the pre-proof desk saves you from reprinting a whole box. If your columns miss the fold guidelines, we never silently push the job to press. We show you the exact mounted proof and offer to re-space or re-fit your panels into the official guidelines for free when you click Request Changes.
How do Z-fold vs. tri-fold confusions happen, and how do we fix reversed panels?
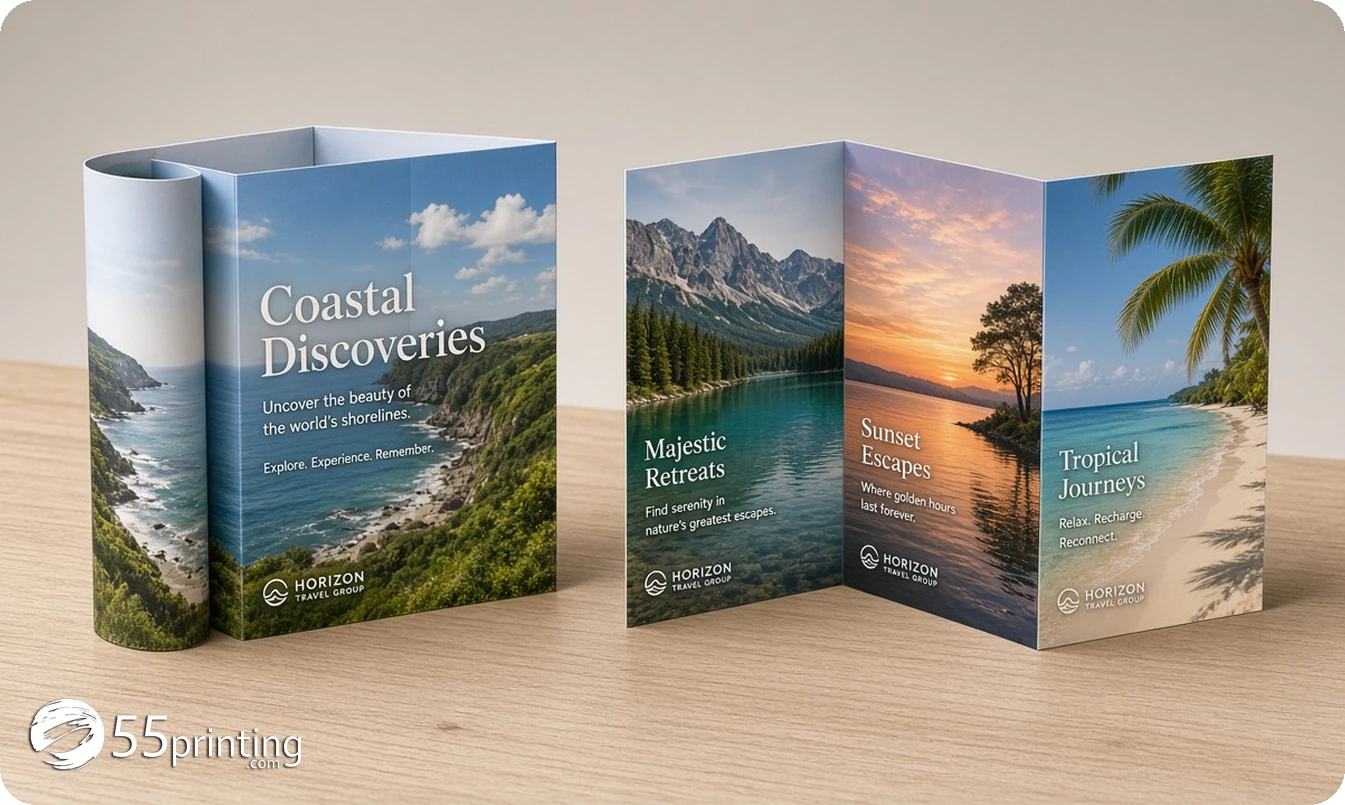
The second major family of brochure printing mistakes is ordering a Tri-Fold in the cart while designing the artwork for a Z-Fold, or placing the front cover on the wrong panel of the outside spread. Both folds divide an 8.5″ x 11″ or 11″ x 17″ sheet into six total panels (three outside, three inside), and both cost the exact same price on our form ($112.44 print / $129.87 delivered at 250 copies on 8.5″ x 11″ 100 lb Gloss Book). Structurally, however, these two folds behave differently, and mixing them up is one of the most frequent brochure printing mistakes we fix:
Tri-Fold (Letter / Roll Fold)
- Fold geometry: Both side flaps fold inward toward the center; the narrower left flap tucks inside the right cover flap.
- Panel widths: Unequal (3.62″ tuck flap, 3.69″ back cover, 3.69″ front cover on 8.5″ x 11″).
- Reader experience: Opens cover first, then reveals the inside-left and tuck flap, then opens flat to a three-panel interior.
- Best for: Takeout menus, medical patient guides, service price lists, and rack brochures.
Z-Fold (Accordion Fold)
- Fold geometry: Two parallel folds go in opposite directions, forming a “Z” silhouette when viewed from the top edge.
- Panel widths: Three equal panels (3.667″ each on an 8.5″ x 11″ sheet) because neither flap tucks inside the other.
- Reader experience: Pulls open in one continuous accordion motion across all three panels.
- Best for: Step-by-step diagrams, event maps, timeline graphics, and wide photos that span across all three panels.
Two classic layout traps show up in our pre-proof queue every week:
- Putting the Front Cover on Panel 1 (Far Left) instead of Panel 3 (Far Right): Because English readers read left to right, first-time designers naturally place the main logo and cover headline on the far-left column of Page 1. On both a tri-fold and a standard Z-fold, the far-right panel (Panel 3) is the Outside Front Cover, the center panel (Panel 2) is the Outside Back Cover, and the far-left panel (Panel 1) is the Inside Tuck Flap (or back-right accordion flap). If you put your cover on Panel 1, your cover folds out of sight on the inside!
- Spanning a continuous banner photo across a Tri-Fold outside spread: If a designer runs a panoramic photo across Panel 1 and Panel 2 on Page 1 thinking those two panels open side by side, the folded brochure breaks the image because Panel 2 is the back of the brochure while Panel 1 tucks inside behind the front cover. For a deeper comparison of fold styles, see our tri-fold vs. bi-fold vs. Z-fold chooser.
When our pre-proof team spots a cover on Panel 1 or an equal-thirds Z-fold layout attached to a tri-fold order, we flag the exact panel mismatch in your proof note. Depending on how your art is built, we can either switch the order fold setting to Z-Fold (at $0 price difference) or cut and re-order your outside panels so the front cover lands on Panel 3 where it belongs.
How does 55printing regenerate and extend missing brochure bleed areas?
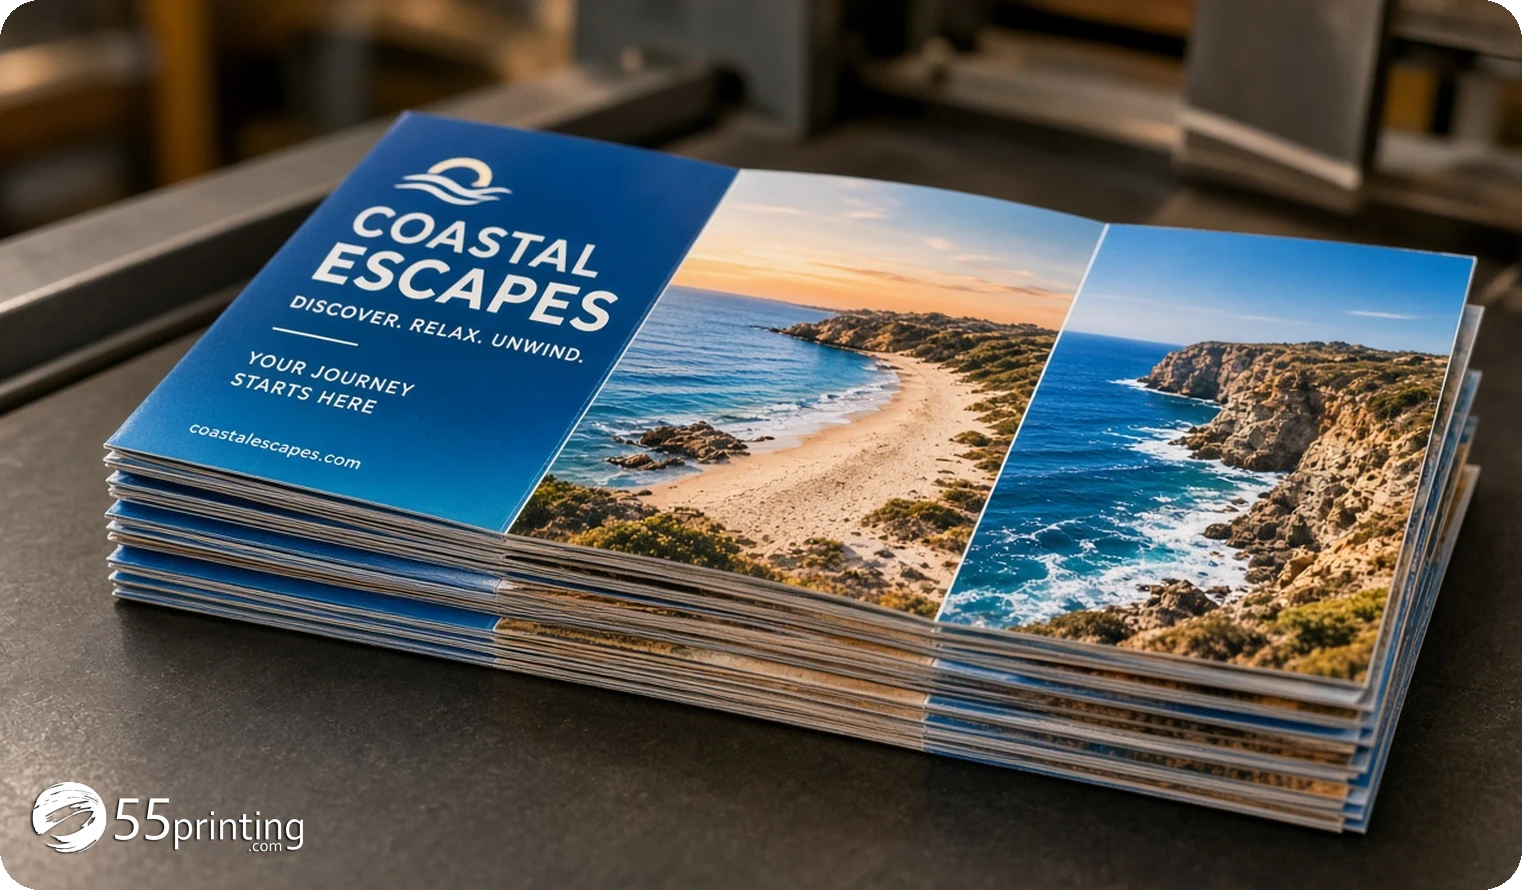
Brochures printed on high-speed offset presses are trimmed in stacks under a heavy hydraulic guillotine blade. Even a hair-thin mechanical tolerance shift on an un-bled 11.000″ x 8.500″ file leaves an ugly white paper stripe along the edge of dark or full-color panels. To guarantee edge-to-edge color, our 8.5″ x 11″ brochure press sheet requires 0.0625 inches of bleed per side (22 pixels at 350 DPI), bringing the full canvas to 11.125″ x 8.625″ (3894 x 3019 pixels). On an 11″ x 17″ brochure, the same 0.0625-inch bleed per side creates a 17.125″ x 11.125″ (5994 x 3894 pixel) canvas.
Most customer brochure uploads arrive at exact 11″ x 8.5″ trim with zero bleed, and with phone numbers or headlines sitting right against the edge. Skipping bleed is one of the easiest brochure printing mistakes to make in Canva or Word. Many automated printers make one of two bad mistakes here: either they shrink your entire file inside the safe zone (leaving an unintended white border around all four sides), or they uniformly enlarge your 11″ x 8.5″ file to cover the 11.125″ x 8.625″ sheet, which pushes edge text into the guillotine knife and shifts your internal fold lines outward.
At 55printing, our prepress pipeline uses a four-branch bleed and safe-zone rescue system tailored to how your brochure background is built, eliminating bleed-related brochure printing mistakes before plates are made:
- 1:1 Bleed-Aware Center Mount (When Your File Already Includes Bleed): If your PDF already includes symmetric bleed (for example, a Canva export with 0.125″ bleed per side measuring 11.25″ x 8.75″), shrinking it to fit our 11.125″ x 8.625″ sheet would shrink your panels inside the trim. Instead, our `place_bleed_aware()` mounter places your trim 1:1 on our trim so your fold lines stay dead-on and your extra bleed covers our 22-pixel magenta knife ring.
- Solid-Color Edge Clamp (For Flat One-Color Panel Backgrounds): When a brochure panel has a solid navy, black, cream, or brand-blue background that stops at 11″ x 8.5″ trim, and vital text sits close to the cyan safe line (66 pixels from the canvas wall), we keep your layout at 1:1 and extend the solid background color across the 22-pixel bleed margin. Your columns never shift and your text never moves closer to the knife.
- AI Uncrop Bleed Regeneration (For Photographic, Textured, or Patterned Edges): You cannot drag or repeat the last row of pixels on a beach photo, brick wall, wood grain, foliage, or food platter; pixel-repeating creates a visible barcode smear along the border. When a textured or photographic brochure edge needs bleed and cannot be scaled up without pushing logos or headlines across the cyan safe zone, we pad the original image through AI Uncrop (ClipDrop) before mounting onto the 3894 x 3019 pixel template. That generates natural, continuous photographic texture past the magenta cut line while locking your original center pixels untouched.
- Safe-Zone Pullback (`50+ px` from Wall / `20 px` Inside Cyan): On our 350 DPI brochure sheet, the magenta cut line sits at 22 pixels from the canvas edge and the cyan safe line sits at 66 pixels (0.1875 inches inside trim). Our automated `edge_safe_audit` checks every wall on both dark and light backgrounds to verify that logos, prices, phone numbers, and icons stay at least 50 pixels from the canvas wall (20 pixels inside cyan) and at least 0.1875 inches away from the gray fold creases.
What are all 15 brochure printing mistakes we catch and resolve at 55printing?
Beyond fold lines, Z-fold confusion, and bleed extensions, our prepress team logs every file defect that enters our order queue and our free file review uploader. Below are all 15 brochure printing mistakes we inspect for during our free 101-point print proof inspection, along with how we resolve each one:
| # | Brochure File Problem | What Happens if Printed As-Is | How 55printing Resolves It |
|---|---|---|---|
| 1 | Equal-Thirds Fold Drift (3.667″ columns) | Headlines, panel borders, and faces get creased by the offset fold rollers because the tuck flap must be narrower (3.62″). | We mount your art under the real gray fold dashes (px 1289 / 2580 out; px 1314 / 2604 in) and re-space panels free on request. |
| 2 | Z-Fold vs. Tri-Fold Confusion | An accordion 3-equal-panel layout ordered as a roll-in tri-fold folds over itself or hides the center story. | We flag the fold mismatch on your proof and either switch the cart fold to Z-Fold ($0 difference) or adjust the panel widths. |
| 3 | Front Cover Placed on Panel 1 (Left) | Designing left-to-right puts the Front Cover on the inside tuck flap, so the back or flap faces the customer first. | We alert you before press and swap Panel 1 and Panel 3 on the outside spread so the Front Cover lands on the far right. |
| 4 | Missing 0.0625″ Bleed (Exact 11″ x 8.5″ Trim) | Guillotine cutting tolerances leave thin white unprinted slivers along colored panel edges. | We expand the canvas to 11.125″ x 8.625″ (3894 x 3019 px) using 1:1 center-lock plus solid edge clamp or uniform cover. |
| 5 | Smeared Photo or Patterned Bleed Edges | Dragging the last pixel row on grass, water, brick, or food creates an ugly smeared band around the border. | We forbid last-pixel smearing on textures and run AI Uncrop (ClipDrop) on the original art so real texture flows past the cut. |
| 6 | Low-Resolution Art or Logos (<220 DPI) | 72 to 150 DPI screenshots, WhatsApp photos, or compressed Canva exports print soft, blocky, and pixelated on gloss stock. | We report the exact DPI and best print size in your proof note and run our Free 4x AI Quality Enhance on request. |
| 7 | Outdated Draft or Last-Minute Price Change | A wrong phone number, seasonal menu price, or yesterday’s PDF draft goes to press if the printer locks uploads at checkout. | We offer a Free File Swap before press via Request Changes or our uploader, plus minor text edits at no charge. |
| 8 | QR Code Under 0.8″ or Blurred by Upscaling | Tiny QR codes (<0.8 in), QR codes straddling a fold crease, or AI-smoothed QR modules fail to scan on phones. | We lock original QR pixels with `NEAREST` interpolation, enforce the 0.8″ floor, test-scan with a phone camera, and verify the URL. |
| 9 | Micro Menu or Legal Copy Under 6 pt | Shrinking a full takeout menu onto one 3.69″ panel drops type to 3.8 pt to 4.5 pt, which fills in on 4-color offset plates. | Our optical x-height audit measures mounted type in points, flags any text under 6 pt, and enlarges or reflows it on request. |
| 10 | Phones, URLs & Icons on the Magenta Cut Line | Contact lines or map-pin icons placed within 0.0625″ of the trim get shaved off by the cutter knife. | We pull vital text and icons at least 20 px inside the cyan safe zone (66 px from the sheet wall) while keeping backgrounds full-bleed. |
| 11 | Upside-Down Inside Spread (`/Rotate 90` PDFs) | Microsoft Publisher and some Canva 2-page PDFs rotate Page 1 and Page 2 in opposite directions, printing the inside upside-down. | We inspect both pages visually, normalize `/Rotate 90` and `/Rotate 270` metadata, and verify upright backup alignment. |
| 12 | RGB Neon Blues & Reds Shifting on Offset Press | Uncalibrated sRGB glowing blues turn purple or muddy when dropped straight onto a CMYK offset press. | We convert offset proofs and press sheets using perceptual GRACoL2006_Coated1v2.icc so proof colors match press ink. |
| 13 | 16:9 Slide Deck or A4 Aspect-Ratio Stretch | Forcing a 16:9 PowerPoint slide or European A4 (8.27″ x 11.69″) onto 11″ x 8.5″ turns circular logos into wide ovals. | We strictly lock `scaleX == scaleY` (zero non-uniform stretching) and extend the background to fit the 8.5″ x 11″ proportion. |
| 14 | 6 Single-Panel JPGs or Baked-In Template Lines | Uploading 6 separate 3.66″ x 8.5″ files, or exporting a PDF with magenta/cyan template lines flattened onto the art. | We assemble 6 panel files onto the 2-page Outside/Inside press sheets and strip or ask to remove reference guide lines for free. |
| 15 | Heavy Dark Ink Cracking Along Fold Creases | Un-coated or un-protected dark navy and black solids crack along paper fibers when folded at high speed. | Our standard 100 lb Gloss Book brochure path includes Aqueous Coating (C2S) to seal ink and protect fold creases. |
How do free file swaps, free 4x quality enhancement, and QR code rescue work?
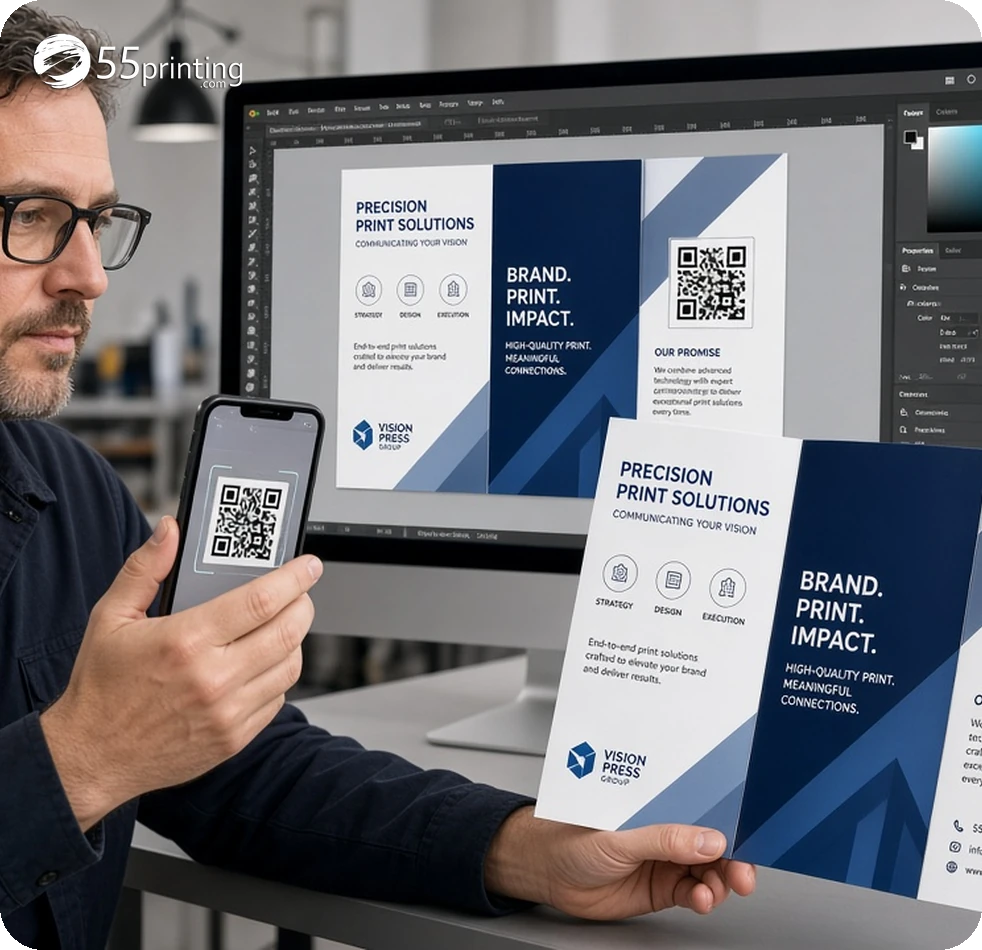
Three of the most expensive brochure printing mistakes at other online printers are getting locked into an accidental file upload, getting rejected for low DPI with no way to fix the image, and printing 1,000 brochures with a dead QR code. Here is how our prepress engineering eliminates all three at no extra cost:
1. Free File Swap Before Press ($0 Re-Upload or Version-02 Proof)
Many discount print queues charge a $15 to $35 file replacement fee the moment you upload a PDF, or push your upload straight to plating with zero human hold. At 55printing, every brochure order pauses in our held pre-proof stage until you review and click Approve. If you realize you uploaded last season’s pricing, need to swap a doctor’s headshot, or want to replace a low-resolution file after seeing our proof note, simply click Request Changes on your proof page or send the updated file. We build a fresh `Version-02` proof and replace the file for free before production begins.
2. Free 4x AI Quality Enhance (Smart True 4x Conjunction)
Customers frequently upload brochure PDFs containing 96 DPI web logos, phone photos compressed through email, or Canva graphics exported at screen resolution. When our `quality_check` detector sees whole-sheet or embedded photo resolution below 300 DPI (warning under 300 DPI, critical flag under 220 DPI), we write the exact measured DPI and the size the file prints best in your proof note. By request, we run our in-house Smart True 4x Conjunction pipeline for free:
- Dual-Engine Neural Upscaling: We combine Real-ESRGAN (for natural photography, food, and architectural detail) with a Waifu2x text-and-vector mask so small brochure typography and line logos sharpen cleanly without ringing artifacts.
- Texture-Aware Skin & Fabric Guard: Portraits, apparel weave, and natural surfaces are protected from plastic over-smoothing while headline edges and vector badges become razor-sharp at 350 DPI.
- Server PDF-to-CMYK Rebuild: After enhancement, we mount the upgraded 350 DPI canvas under the official `55printing-brochure-8.5inx11in-trifold` rings and embed the canonical `GRACoL2006_Coated1v2.icc` color profile.
3. Five-Pass QR Code Rescue & Live Phone Scan
Standard AI upscalers ruin QR codes by rounding the corners of the tiny black finder modules until phone cameras cannot decode them. Worse, customers often drop a 0.45-inch QR code onto a narrow brochure flap or let the edge of the code touch a fold line. Our pipeline runs a five-pass QR detector (OpenCV + pyzbar across grayscale, 2x upscale, adaptive threshold, Otsu, and sharpening) before any image enhancement, crops the original crisp QR pixels, and pastes them back with `Image.NEAREST` interpolation so every square stays sharp. We enforce a strict 0.8-inch minimum printed QR size with a clean white quiet zone, scan the proof with a real phone camera, and report the decoded destination status in your proof note.
What does brochure printing cost in 2026 with full 101-point pre-proofing included?
Every free prepress rescue described above comes bundled inside our standard brochure pricing so brochure printing mistakes never add hidden repair charges to your invoice. The table below shows live totals pulled directly from the 55printing brochure order form on October 15, 2026, for full-color both-sides printing (`4/4`) on 100 lb Gloss Book with Aqueous Coating (C2S), Standard 3 to 5 business days turnaround, FREE Digital PDF Proof, and UPS Ground shipping to ZIP 33140:
| Brochure Size & Fold | Quantity | Print Subtotal | Ground (33140) | Delivered Total (Per Piece) |
|---|---|---|---|---|
| 8.5″ x 11″ Tri-Fold (or Z-Fold) | 100 | $59.94 | $16.42 | $76.36 ($0.76 each) |
| 8.5″ x 11″ Tri-Fold (or Z-Fold) | 250 | $112.44 | $17.43 | $129.87 ($0.52 each) |
| 8.5″ x 11″ Tri-Fold (or Z-Fold) | 500 | $142.79 | $19.12 | $161.91 ($0.32 each) |
| 8.5″ x 11″ Tri-Fold (or Z-Fold) | 1,000 | $171.86 | $24.25 | $196.11 ($0.20 each) |
| 8.5″ x 11″ Tri-Fold (or Z-Fold) | 2,500 | $268.04 | $57.45 | $325.49 ($0.13 each) |
| 11″ x 17″ Half-Fold (to 8.5″ x 11″) | 100 | $139.75 | $17.60 | $157.35 ($1.57 each) |
| 11″ x 17″ Half-Fold or Tri-Fold | 250 | $258.09 | $21.11 | $279.20 ($1.12 each) |
Look at how the unit math scales on the 8.5″ x 11″ tri-fold path: stepping from 100 brochures ($76.36 delivered) to 250 brochures ($129.87 delivered) adds 150 more brochures for $53.51, cutting your delivered cost per brochure from 76 cents to 52 cents. Stepping from 500 ($161.91 delivered) to 1,000 ($196.11 delivered) doubles your box count for just $34.20 more, bringing each full-color aqueous-coated brochure down to 20 cents delivered. Need heavyweight cover stock for a presentation folder feel? On 11″ x 17″ half-fold brochures, upgrading to 100 lb Gloss Cover (10 pt) prices at $149.70 print ($168.25 delivered to ZIP 49315 at 100 pieces, or $333.02 print / $360.03 delivered at 250 pieces).
Compare what happens to your brochure file across online printers before you place that order:
| Prepress Check or Fix | GotPrint (Instant Online Proof) | UPrinting (33-Point Check) | 55printing (101-Point Pre-Proof) |
|---|---|---|---|
| Asymmetric tri-fold panel & fold overlay | Automated screen preview only | Checks trim & fold placement | Real 350 DPI gray fold pixels (1289/2580 out, 1314/2604 in) |
| Free bleed extension (Solid clamp + AI Uncrop) | Not included (customer must fix) | Flags missing bleed for re-upload | Included free on request (solid clamp or ClipDrop AI Uncrop) |
| Free 4x AI quality enhancement on soft art | Not included | Does not fix blurry images | Included free on request (Smart True 4x Conjunction) |
| Spelling, grammar & phone/QR scan audit | No human copy or QR audit | Explicitly excludes spelling errors | Grammar check + live phone QR scan + 0.8″ size floor |
| Free file swap before press | Locked once sent to batch queue | Allowed before proof approval | Free file swap & Version-02 rebuild before approval |
Download the 2-Page Brochure File Rescue Sheet & Official 350 DPI Templates
 PDF, 2 pagesBrochure File Rescue & Fold Map SheetOutside/inside pixel coordinates (1289/2580 & 1314/2604), Z-fold vs. tri-fold guide, 15 fixes, and live 2026 prices.Download PDF (228 KB)
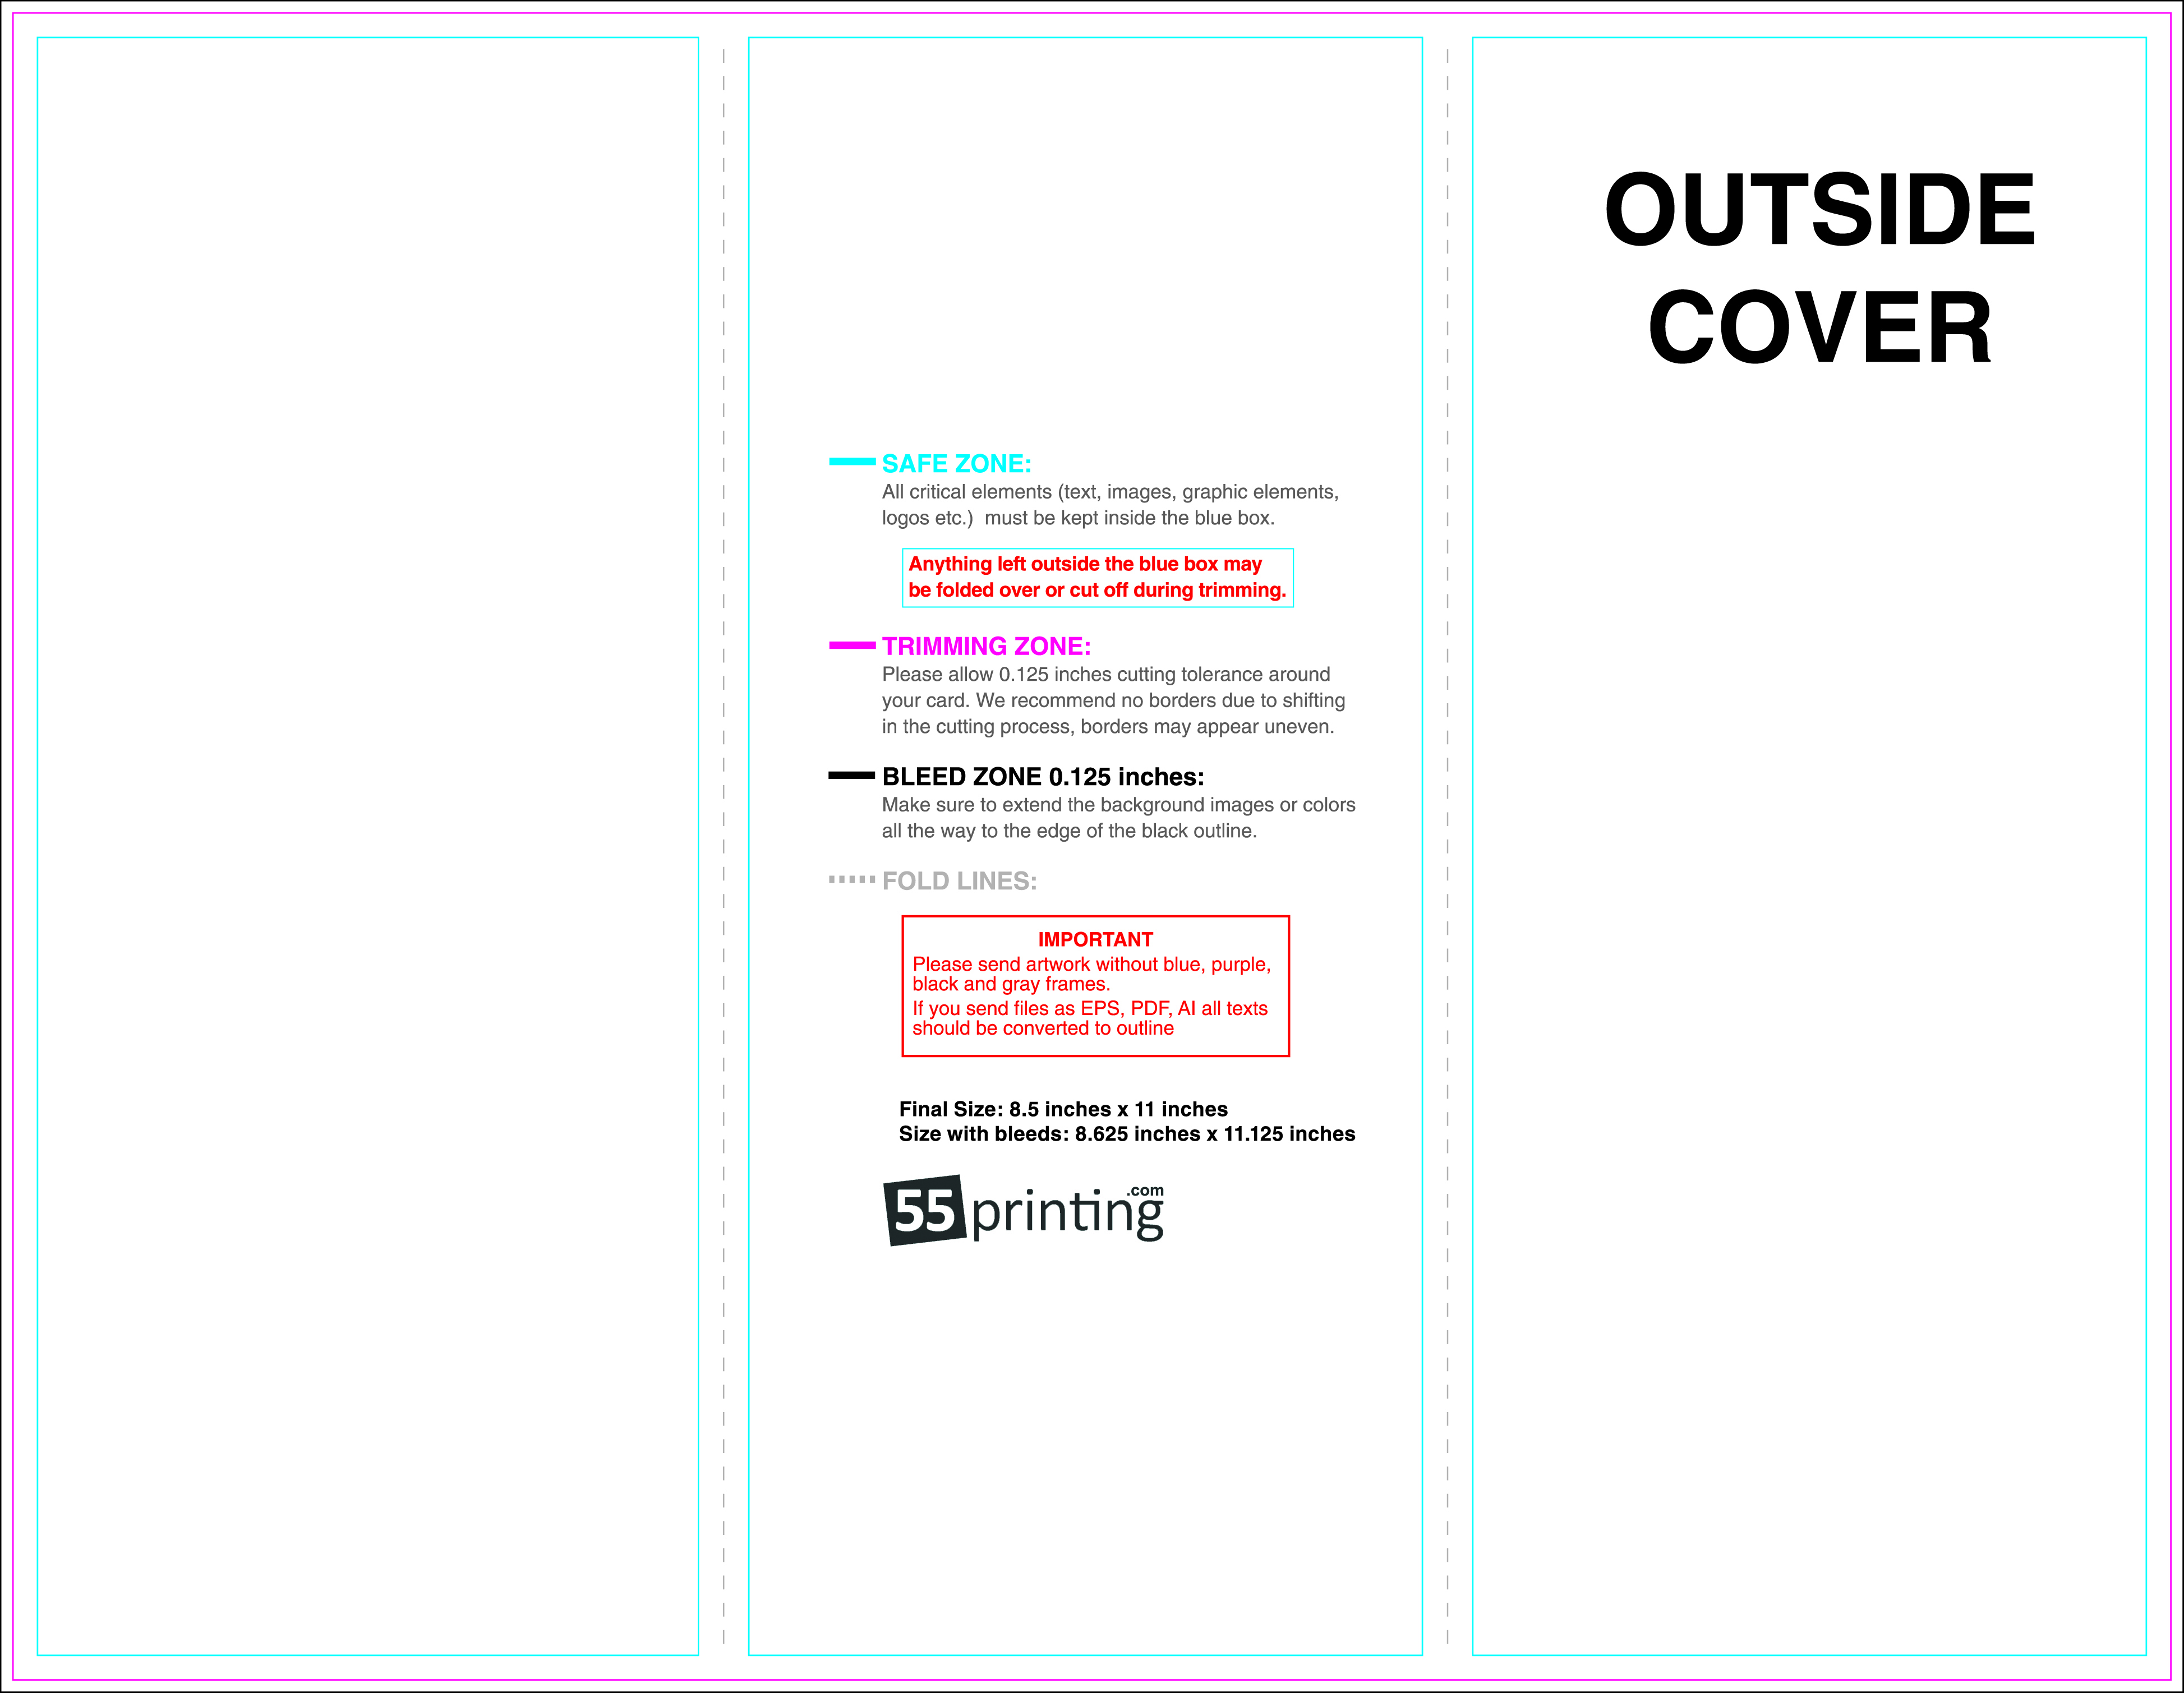 350 DPI CMYK JPG8.5" x 11" Tri-Fold Outside Template (Page 1)3894 x 3019 px (11.125" x 8.625"). Tuck flap left, back center, front cover right. Folds at px 1289 / 2580.Download Outside JPG
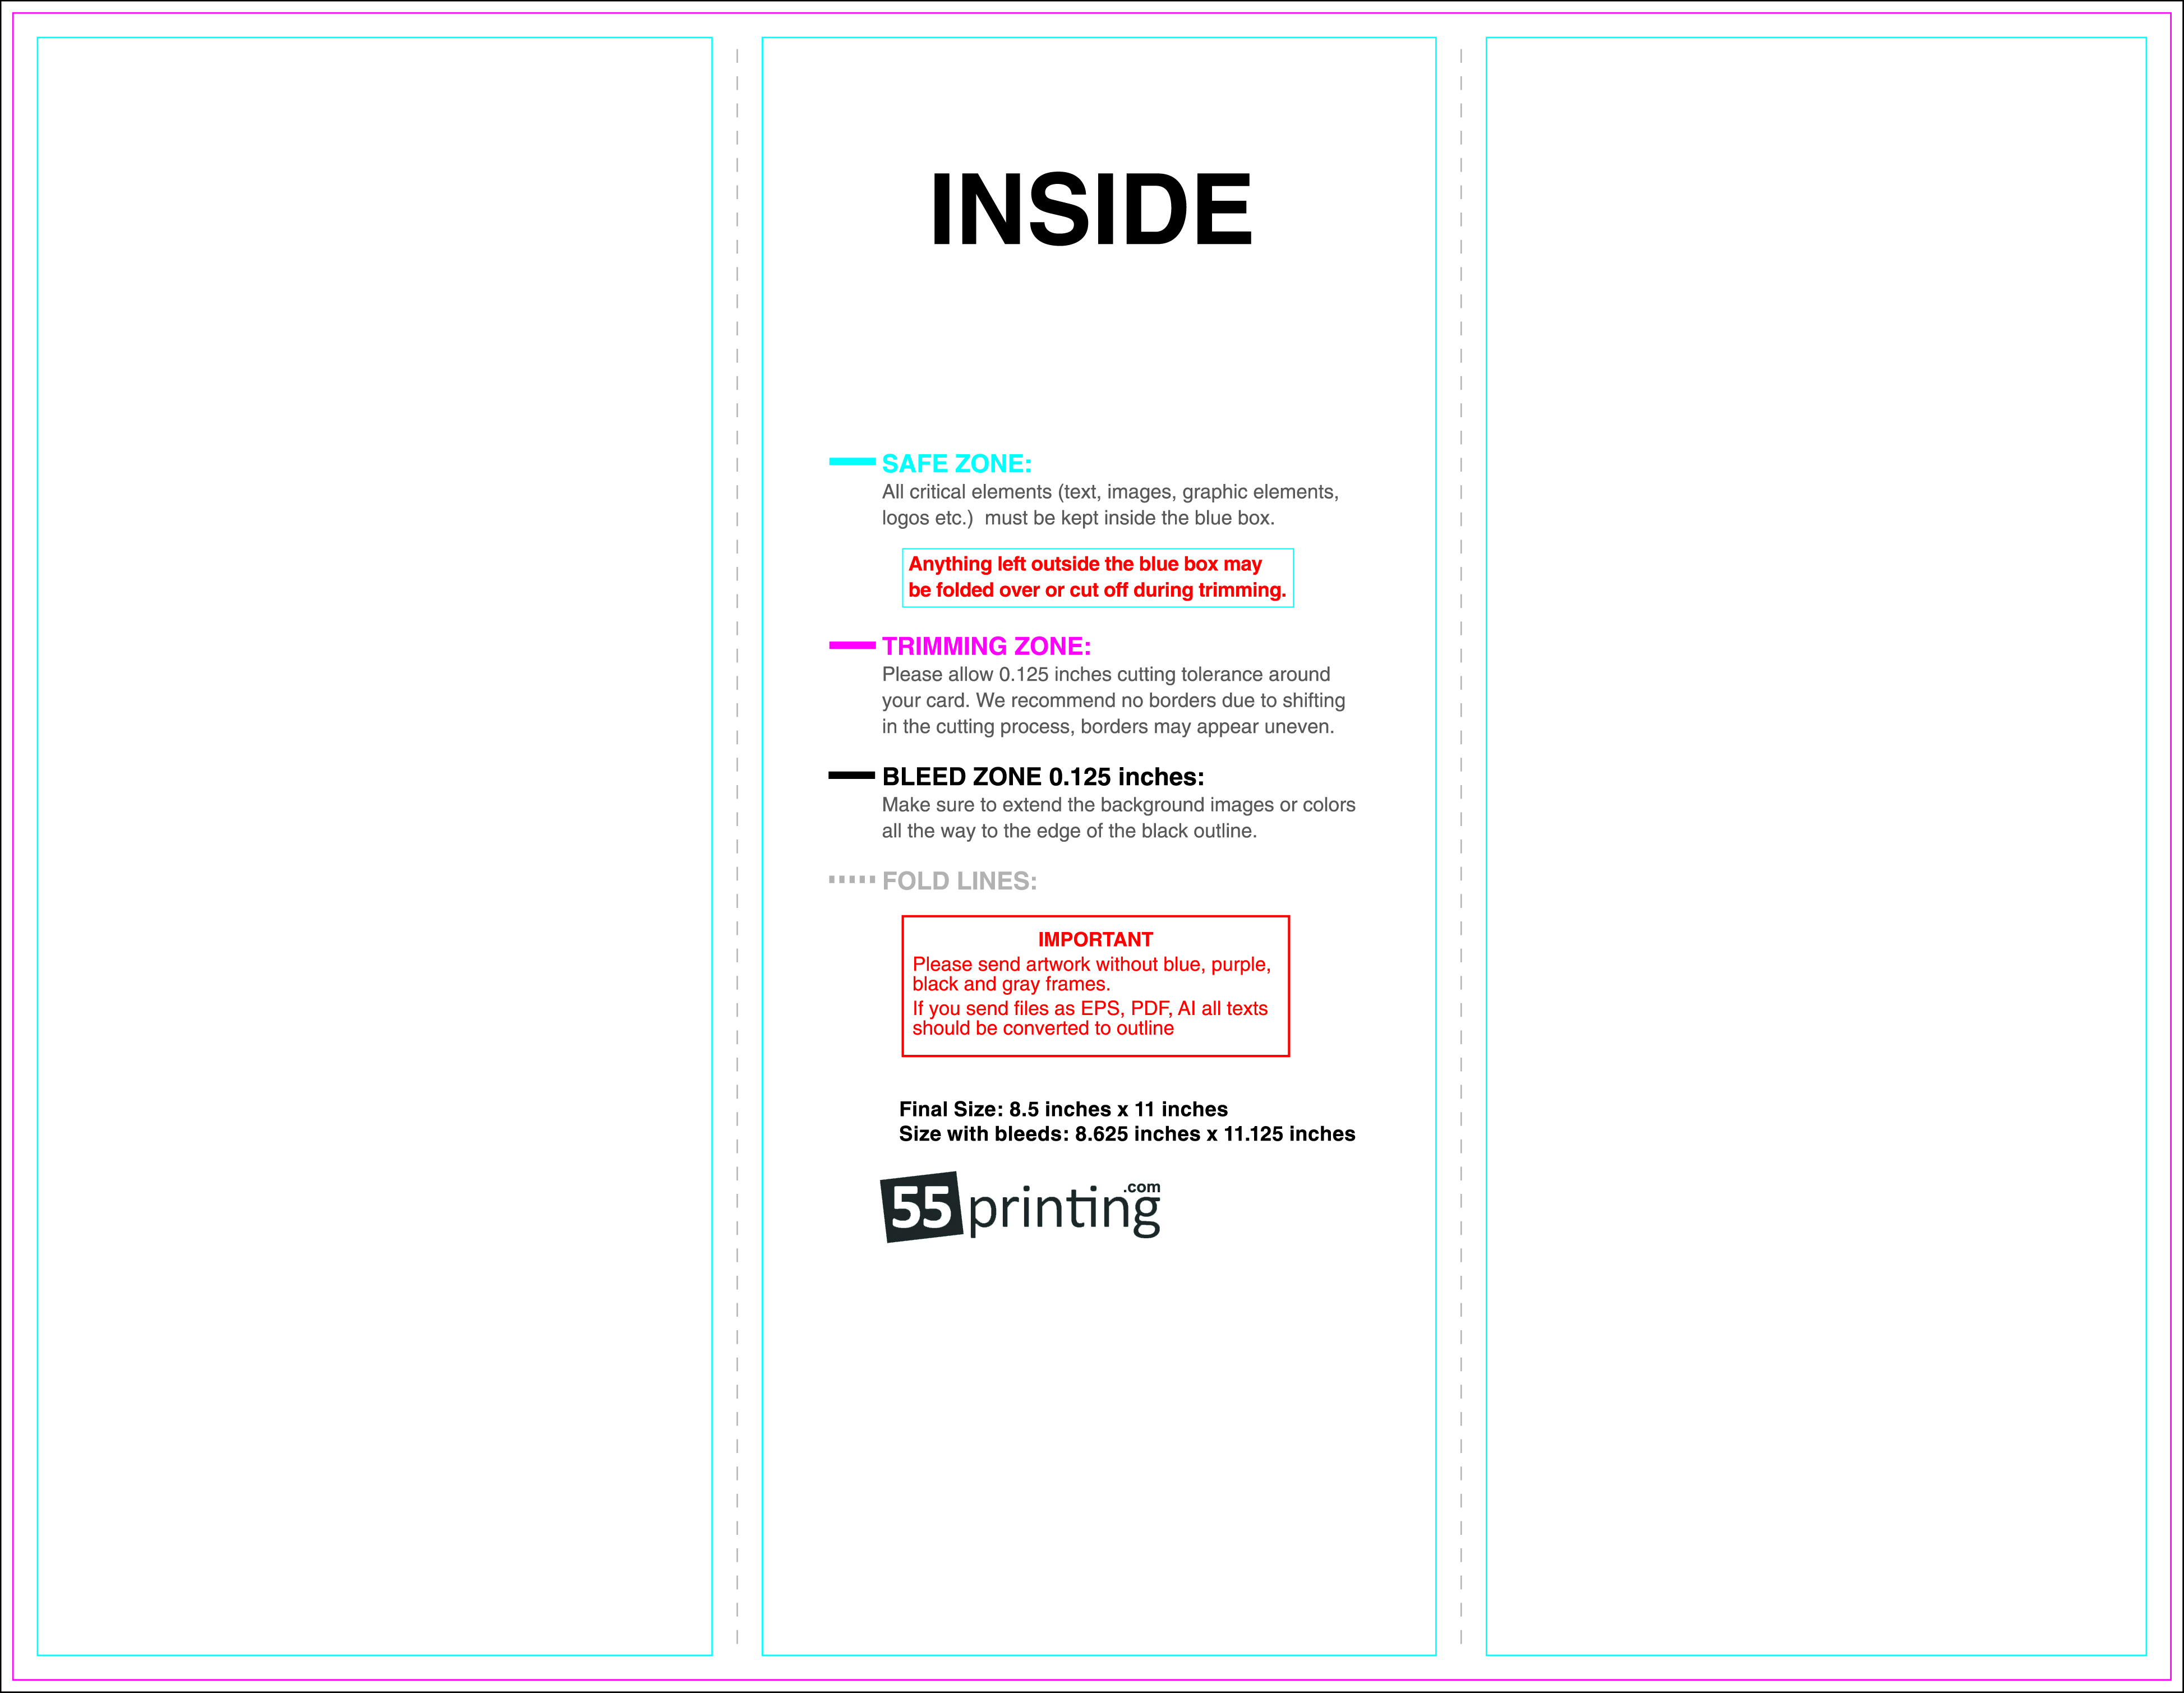 350 DPI CMYK JPG8.5" x 11" Tri-Fold Inside Template (Page 2)3894 x 3019 px (11.125" x 8.625"). Three interior panels with narrow right flap. Folds at px 1314 / 2604.Download Inside JPG
Frequently Asked Questions About Brochure File Problems & Free Fixes
Why do my brochure columns miss the fold lines when I divide 11 inches by 3?
A real offset tri-fold (letter fold) cannot use three equal 3.667-inch panels because the inside-left flap rolls inward and tucks beneath the right cover flap. To fold flat without buckling, the tuck flap is narrower (about 3.62 inches) while the back and front cover panels measure about 3.69 inches. On our 3894 x 3019 pixel (350 DPI) 8.5″ x 11″ template, outside folds sit at pixels 1289 and 2580, and inside folds sit at pixels 1314 and 2604.
What is the difference between a Z-fold and a tri-fold brochure on the order form?
A tri-fold (letter fold) folds both outer panels inward so the narrower left flap tucks inside the right cover. A Z-fold (accordion fold) folds in alternating opposite directions like the letter Z and uses three equal 3.667-inch panels. Both options cost the same on 55printing ($112.44 print / $129.87 delivered via Ground to ZIP 33140 for 250 copies on 8.5″ x 11″ 100 lb Gloss Book), and we verify that your artwork matches your chosen fold before press.
Which panel is the front cover on an 8.5″ x 11″ tri-fold brochure file?
On Page 1 (the Outside spread), Panel 3 on the far right (pixels 2580 to 3894) is the Outside Front Cover, Panel 2 in the center (pixels 1289 to 2580) is the Outside Back Cover, and Panel 1 on the far left (pixels 0 to 1289) is the Inside Tuck Flap. Placing your cover on Panel 1 is one of the most common brochure printing mistakes, and our pre-proof team will flag and re-order the panels for you at no charge.
How does 55printing fix a brochure file that was exported without bleed?
Our 8.5″ x 11″ brochure press sheet requires 0.0625 inches of bleed per side, totaling 11.125″ x 8.625″ (3894 x 3019 pixels at 350 DPI). If your file arrives at exact 11″ x 8.5″ trim, we never stretch your aspect ratio or smear photo edges. We extend solid-color backgrounds with a clean edge clamp, or expand photographic and textured edges using AI Uncrop (ClipDrop) on the original art while keeping vital text at least 50 pixels inside the canvas wall.
Can I swap or replace my brochure file for free if I spot a mistake?
Yes. Every brochure order is held in our pre-proof review stage until you inspect and approve the proof. If you catch a price update, a typo, or an old draft, click Request Changes on your proof page or upload the replacement PDF through our file uploader before press. We overwrite or register a new proof version for free with zero re-upload fees.
What happens if my brochure photos or logos are low resolution (under 220 DPI)?
Our automated pre-proof quality detector measures your effective DPI at the ordered trim size and reports both the current resolution and the best print size in your proof note. Upon request, we run our free in-house Smart True 4x Conjunction upscaler, which blends Real-ESRGAN photo restoration with Waifu2x vector-text masking to bring soft 96 to 150 DPI graphics up to crisp 350 DPI print quality at no extra charge.
How small can a QR code or menu text be on a printed brochure?
Keep every printed QR code at least 0.8 inches square with a clean white quiet zone, and keep all body or menu text at 6 pt or larger. During pre-proofing, we lock original QR pixels with NEAREST interpolation so upscaling never blurs the finder squares, keep the code clear of the fold lines, test-scan it with a phone camera, and flag any copy that falls below the 6 pt readability floor.
How much do 250 or 1,000 full-color tri-fold brochures cost delivered?
On the live 55printing brochure form (checked October 15, 2026 for 8.5″ x 11″ on 100 lb Gloss Book with Aqueous Coating C2S, Full Color Both Sides, Standard 3 to 5 business days, and UPS Ground to ZIP 33140), 100 brochures cost $59.94 print ($76.36 delivered), 250 cost $112.44 print ($129.87 delivered, or $0.52 each), 500 cost $142.79 print ($161.91 delivered), and 1,000 cost $171.86 print ($196.11 delivered, or $0.20 each).
Upload your PDF on the live brochure form or send it through our free file uploader. Every order includes our 101-point pre-proof check, free file swaps before press, and free 4x quality enhancement on request.