

AI Generated Designs for Printing: Fix the File Before Press
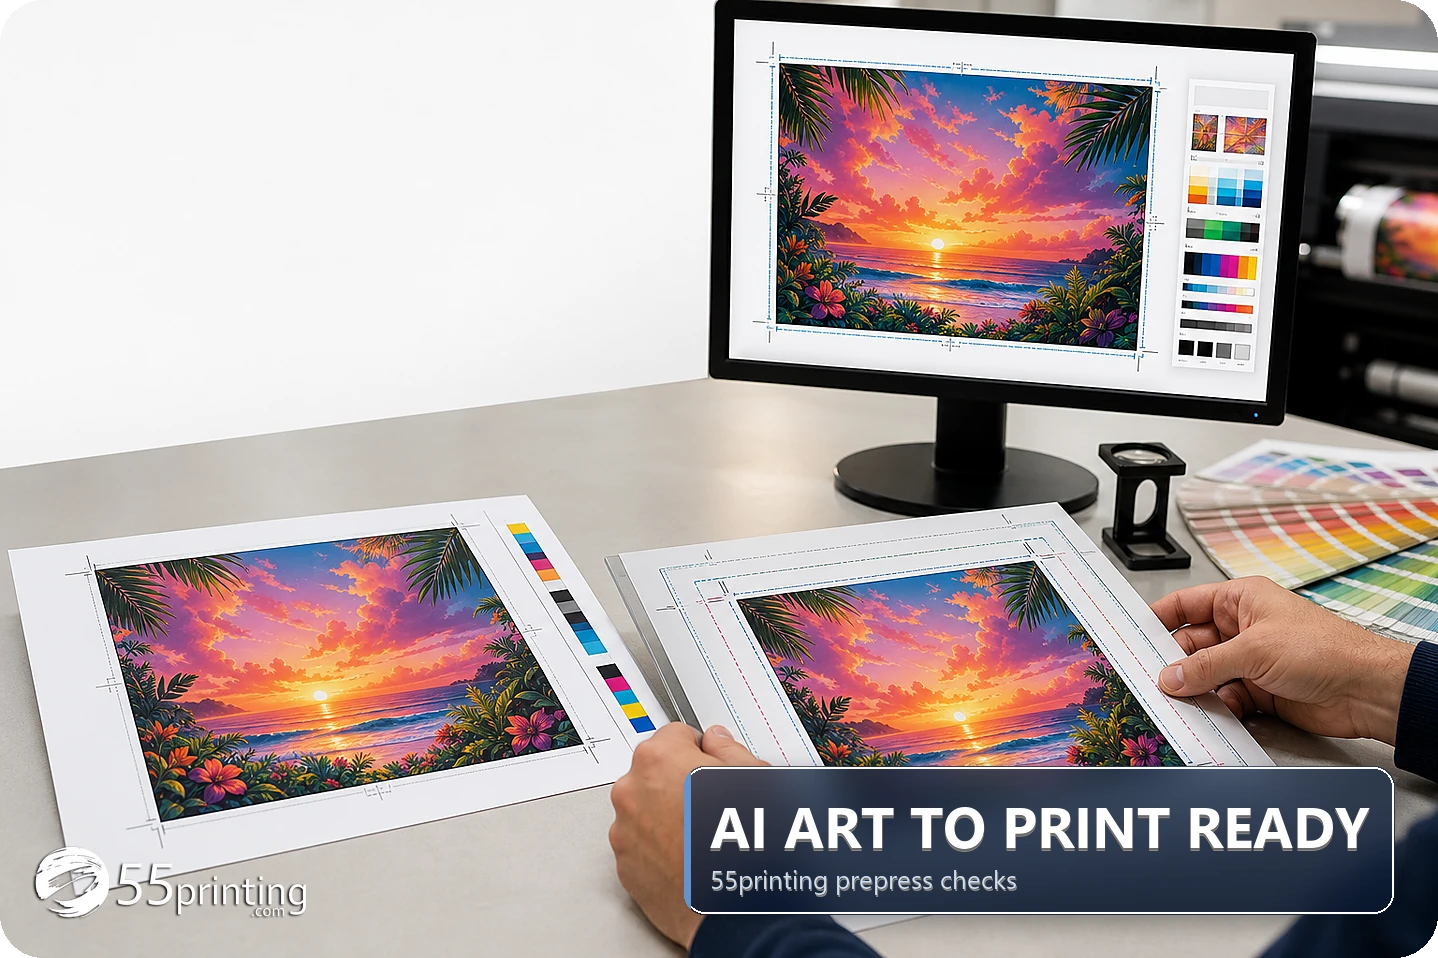
AI generated designs for printing can look finished on screen and still fail print checks. Confirm the product canvas, extend edge art into the required bleed, keep important content inside the safe zone, calculate effective resolution at placed size, review dark shadows and RGB-to-CMYK changes, remove unlicensed watermarks, and proof every word and QR code. 55printing lets customers request a free human file review through the File Uploader and use a free PDF proof before production.
AI generated designs for printing can look complete and still need a prepress decision. A restaurant owner can generate a striking menu background in seconds, place it in a flyer layout, and still have the wrong file for the press. The canvas may be a social-media ratio. The shadow detail may be nearly black. The image may carry a visible stock watermark, soft edges, or invented lettering. That file is not a failure of imagination. It is a prepress problem, and prepress problems should be found before a quantity is produced.
People sometimes describe the failure rate as 99 percent. That is not a universal number we can responsibly publish. The useful truth is simpler: AI image generation optimizes for a convincing screen result, while printing needs a defined product size, trim behavior, image resolution, color handling, and human approval. Those are different jobs.
What does print-ready mean for AI generated designs for printing?
Print-ready means the file matches the product and can be checked against a physical result before production. It does not mean the file merely opens, looks attractive, or exports as a PDF.
Start with the exact item: a 3.5 x 2 inch business card, an 8.5 x 11 inch flyer, a 4 x 6 inch postcard, a yard sign, or another product. Each has different dimensions, finishing areas, viewing distance, and safe areas. A design built for a phone screen can be a useful visual source, but it is not automatically a flyer, card, or postcard file.
Use this definition of ready:
- The page or artboard matches the selected product and orientation.
- Backgrounds that reach an edge extend through the required bleed.
- Text, logos, faces, QR codes, and other critical details stay inside the safe zone.
- Images have enough effective resolution at their placed size.
- Color is reviewed for the intended print process, rather than judged only from a bright monitor.
- Watermarks, accidental text, and unapproved marks are removed or replaced with authorized assets.
- The final PDF or accepted source file matches the version a human will proof.
A valid PDF can still have the wrong page size, clipped background, missing font, low-resolution images, or an unwanted watermark. File format is one check. File behavior is the real check.
Why do AI-generated files fail before printing?
AI output fails in predictable categories because the generator does not know the product order unless a person supplies that context and checks the result.
| Problem in the file | Why it matters in print | Safer next decision |
|---|---|---|
| Dark shadow block | Subtle screen detail can collapse into muddy black or a heavy gray area after color conversion and paper reproduction. | Review a soft proof, open the shadows, and compare the adjusted art with the original intent. |
| Visible watermark | It may identify an unlicensed source or become part of the printed design. | Replace the asset with an authorized image. Do not treat removal as proof of usage rights. |
| Invented text or logo | A single wrong character can change a phone number, URL, name, or brand mark. | Replace generated copy with approved text and compare the mark against its source. |
| Social-media canvas | The aspect ratio can crop the subject or create empty space when forced into a print product. | Build the file on the product template before final placement. |
| No bleed | Trim movement can expose a thin white edge on full-bleed artwork. | Extend the background beyond trim by the product’s stated bleed. |
| Low effective resolution | Upscaling metadata does not create missing pixels, so edges and small details can print soft. | Replace the asset or place it smaller after calculating pixel width divided by inches. |
| Flattened transparency | A glow, drop shadow, or transparent edge can flatten against the wrong background or show a halo. | Inspect the exported PDF over the intended background and request a correction if the edge changes. |
The correction is not always “make the image sharper.” First identify whether the problem is an asset, a layout, a color conversion, a right to use the image, or a proof decision. Fixing the wrong layer can make the file look different without making it safe.
How do size, bleed, and safe zone change an AI design?
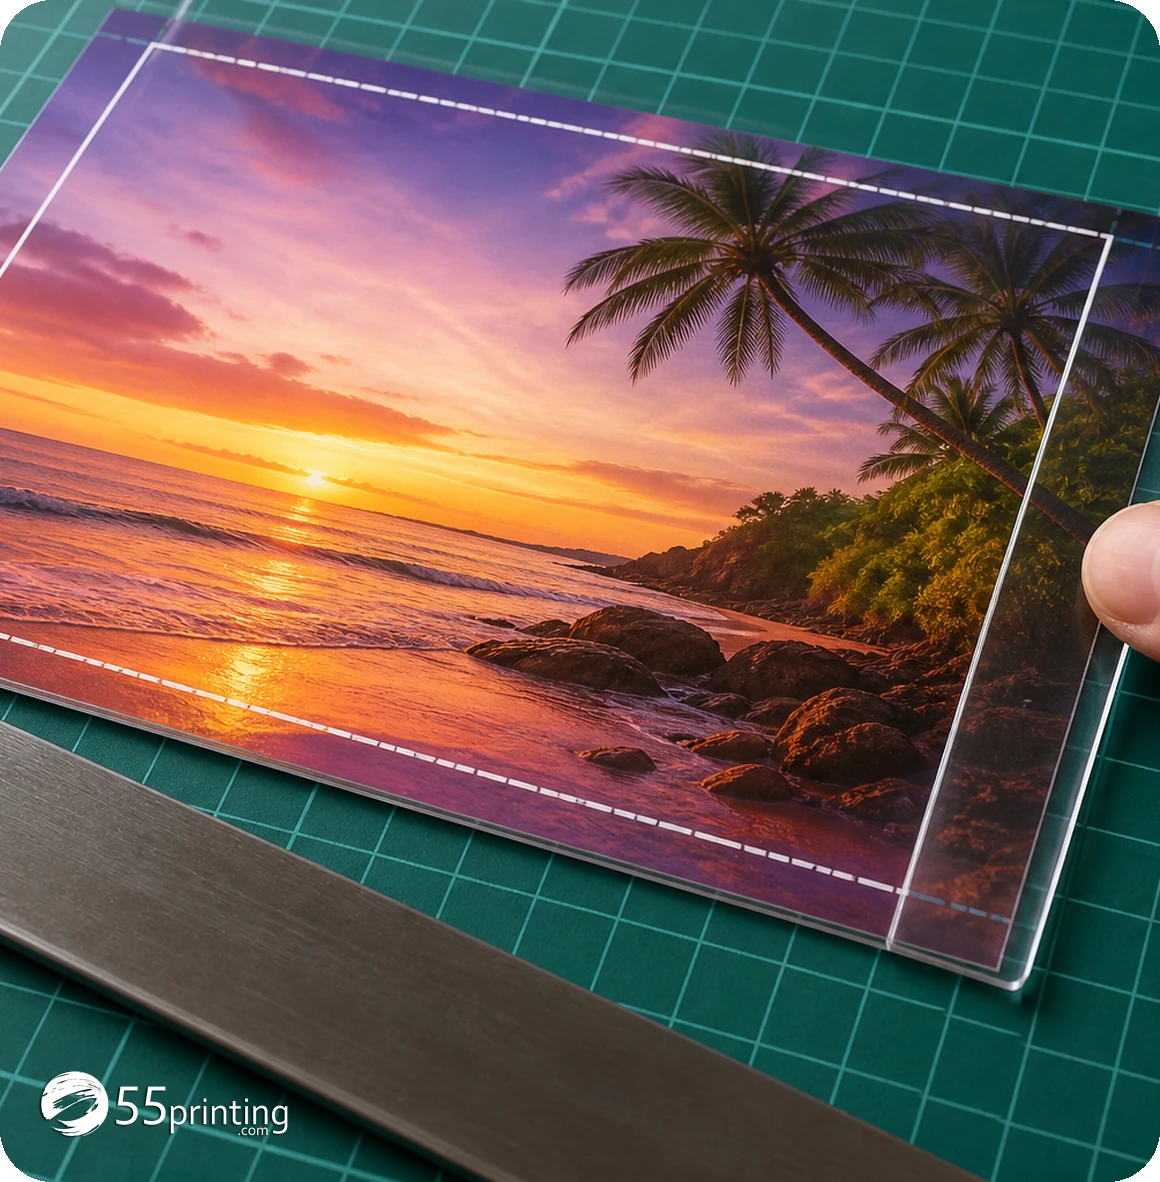
Size controls every later decision. An AI image generated as a square may need to become a wide postcard or a tall business card. Cropping can remove a face, logo, or product. Stretching changes the subject’s proportions. Padding the art with empty space can leave a layout that feels unfinished. Rebuild the composition on the correct product canvas instead of forcing the export to fit at the end.
Bleed is extra artwork beyond the final trim edge. It gives trimming room when a background or photo runs to the edge. Adobe describes the bleed area as compensation for slight misalignment during printing and trimming, and notes that 0.125 inch is a typical industry value. The product template remains the authority, so use the matching guideline template for the item you are ordering.
Safe zone is the inside area where important content belongs. Keep names, phone numbers, dates, URLs, QR codes, faces, and logos away from the cut line. A full-bleed background should extend outward. A headline should not.
- Write down the finished product size and orientation.
- Open the matching template or layout guide.
- Extend edge-to-edge background art into the stated bleed.
- Move critical content inward to the safe zone.
- Check every side, fold, panel, and finishing area.
- Export and inspect the actual PDF instead of relying on the editable canvas.
AI outpainting can help extend a background, but it can also invent new objects, alter a face, or create a repeated pattern that looks wrong at the trim. Treat an extended area as new artwork that needs the same review as the original. It is not a substitute for the product template.
How do you check DPI and image sharpness?
Resolution must be judged at the size the image occupies in the layout. Adobe describes 300 pixels per inch as a common reference for high-quality print, while large-format viewing distance can support different choices. The number in a file’s metadata does not prove that the image contains enough detail.
Use effective resolution math:
That simple calculation explains why an AI image can look sharp in a small preview and soft on a large poster. Enlarging a low-pixel image or changing the DPI field without adding real pixels does not restore missing detail. Sharpening may improve edge contrast, but it cannot recover a face, letter, or texture that was never captured.
Inspect the production-size view at 100 percent. Then zoom in on small type, logo edges, hair, thin rules, and QR codes. Look for stair-step edges, halos, smeared texture, and JPEG blocks. If the AI image is the background but the type is live vector text above it, replace the type first and keep the background decision separate.
For a small card, a vector logo or a clean high-resolution source usually matters more than a dramatic AI background. For a large sign, viewing distance changes the image requirement, but small phone numbers and QR codes still need to be readable at the use distance. The right answer depends on the product and how a person will hold or view it.
Why do AI images print darker than they look on screen?
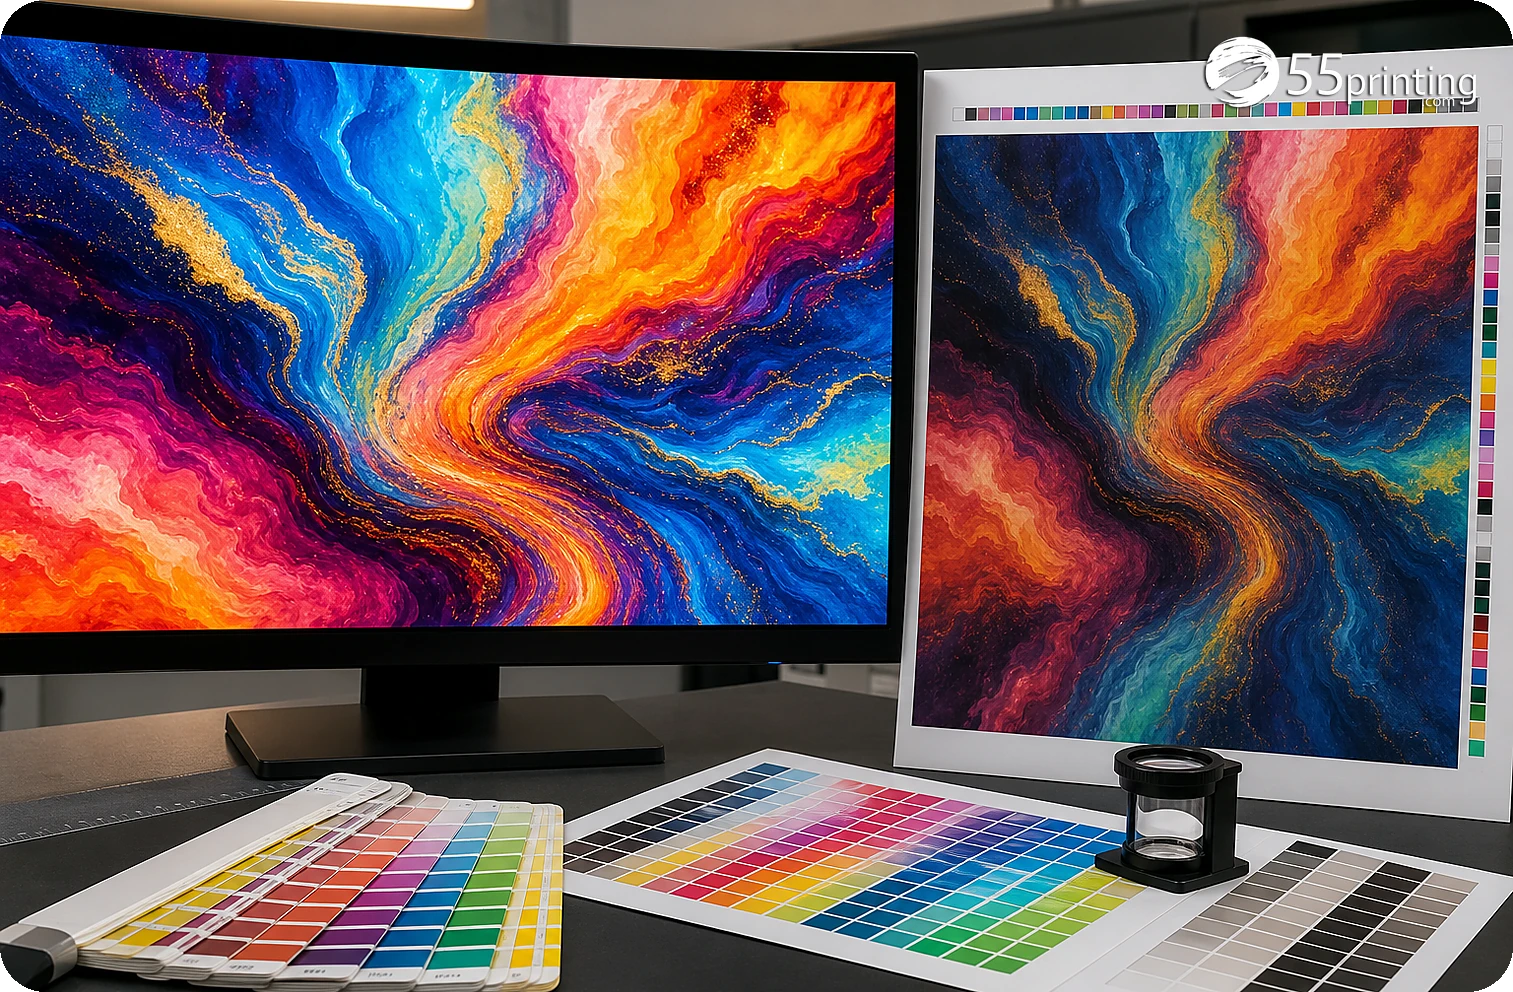
Screen color and printed color are different output conditions. RGB light can show intense color and open shadow detail that process inks and paper reproduce differently. Adobe’s proofing guidance explains that a soft proof uses an output profile to simulate a print condition and that black point compensation helps preserve shadow detail. That is why a dark AI gradient deserves special attention.
Do not judge only the brightest monitor version. Check the deepest shadows for blocked detail, gray patches, muddy skin tones, and dark text sitting on a dark background. A black background can swallow a fine outline. A purple or blue shadow can shift toward a duller color after conversion. Rich black and transparency behavior can also vary with the file and output process.
For a color-sensitive job, review the PDF in a color-managed workflow and compare the proof with the intended brand colors. A monitor proof is useful for layout and tonal direction, but it is not a guarantee that the paper, ink, coating, viewing light, and press will match a backlit display. If the exact color matters, say so in the upload note and review the returned proof before approval.
What should you check in a dark AI image?
- Open a shadow until the subject is still readable.
- Keep text and logos separated from heavy dark areas.
- Check whether a glow or drop shadow produces a gray halo.
- Compare the exported PDF, not just the working file.
- Review the proof at normal size and close zoom.
Color correction is a controlled adjustment. It is not a promise to preserve every screen color. The goal is to make the printed result readable, intentional, and consistent with the approved source.
Why are watermarks, fake text, and AI logos special problems?
A visible watermark is not just an ugly mark. It can signal that the image came from a source with usage restrictions. Removing the mark does not create a license. Replace the image with artwork you have permission to use, or ask for a new source that does not carry the restriction.
Generated words and logos need a separate content check. Image models can produce lettering that looks plausible at a glance but fails character by character. That is dangerous on a flyer, card, menu, label, or postcard because one wrong digit can send a customer to the wrong phone number or URL. Never use AI-generated lettering as the final copy when the message matters.
Keep the approved logo, copy, phone number, QR destination, and legal line outside the generated image. Add them in a layout tool from verified source material. If the source is only a screenshot, say that in the note and ask whether a cleaner asset or redraw is needed. Do not approve a new logo because it feels close to the old one.
AI-generated QR codes need a real scan test. The pattern can look like a QR code but fail to resolve. Build or insert the code from the actual destination, keep its quiet area clear, and test the final proof at the intended size. A proof can show placement; a phone test confirms the destination.
How does 55printing’s free human review and PDF proof work?
The safest handoff is specific. Use the File Uploader to send the file and explain the product, size, side, version, and problem you want checked. The current uploader page says PDF is preferred for accurate color and trim, but it also lists AI, PSD, JPG, PNG, TIFF, and Microsoft Office documents among accepted formats. If you are unsure whether the file will print cleanly, its instructions say to upload it and request a free file review in the notes.
That route is useful because a human reviewer can see the file in the context you provide. Write “AI flyer, 8.5 x 11, front only, check dark lower gradient, confirm bleed, replace generated phone text with attached copy, compare crop in proof.” A note like that gives the review a decision. “Please fix” does not.
The next checkpoint is the free PDF proof. The live proof route describes a sequence of upload, proof preparation, approval or revision notes, and production after approval. Read the exact returned version. Check page count, trim, bleed, safe zone, text, logos, images, QR destination, and the change you requested. If one item is wrong, do not approve the proof. Send the correction note and review the next version again.
A useful free-review handoff has six parts
- Product: name the item and finished size.
- File identity: name the filename and version.
- Problem: point to the shadow, watermark, crop, size, or resolution issue.
- Protected details: list wording, phone, logo, face, color, and QR destination that must not change.
- Requested result: ask for setup correction, review notes, or a PDF proof.
- Approval rule: state that production should wait for your proof decision.
Keep the original AI output and the corrected file together. Do not overwrite the source with a new export. Use clear filenames such as restaurant-flyer-ai-source-v1.png, restaurant-flyer-text-corrected-v2.pdf, and restaurant-flyer-proof-v3.pdf. Version names reduce the chance of approving an older upload.
Free review does not erase the need for customer judgment. It helps identify print setup issues and creates a clear proof loop. You still own the accuracy of the message, the rights to the artwork, and the final approval.
Which AI printing situations need the most care?
Restaurant flyer with a dark food image
A restaurant has a colorful AI food scene and needs 500 8.5 x 11 flyers. The lower shadow is nearly black, and the generated menu text is not reliable. Keep the image only as a background source, replace every word with approved copy, open the shadows enough to support contrast, build the page on the flyer canvas, add the required bleed, and ask for a proof that shows the crop and text.
New business card with a generated logo
A new owner has a square AI logo screenshot but no vector source. The right first decision is not to upscale it and hope. Confirm the card size, protect the business name and contact details as live text, ask whether the mark can be cleaned or needs a redraw, and compare the resulting logo with the approved concept before placing it into a proof.
Realtor postcard with a stock watermark
A postcard layout looks polished but the property image still has a stock watermark. The image must be replaced or licensed before the layout is treated as ready. Then check the property address, agent phone, URL, QR destination, crop, safe zone, mailing area, and proof. A free file review can help identify layout problems, but it cannot grant image rights.
Event poster exported from a social post
An organizer has a square social graphic and wants a vertical 8.5 x 11 poster. Create a new canvas, rebuild the hierarchy, and place live type rather than stretching the social image. Calculate effective resolution for any enlarged photo. Check the date, venue, URL, and QR code twice. Request a PDF proof before sending the file to a larger run.
Technical references: Adobe’s bleed guidance, Adobe’s print-resolution guidance, and Adobe’s soft-proofing guidance, checked August 13, 2026.
Questions customers ask about AI designs for printing
Can I send an AI-generated image straight to a printer?
You can send it for review, but do not assume it is ready for production. Confirm the product canvas, bleed, safe zone, placed resolution, color behavior, rights, text, logo, and QR code first. A JPG or PNG can be a useful source, while a product-specific PDF is often easier to inspect for size and trim.
Why do AI-generated images look too dark when printed?
Screen light and printed ink reproduce shadows differently, especially when a file moves from RGB display color toward a CMYK print condition. Dark gradients can lose separation and become muddy. Review shadow detail in the exported PDF, use a suitable soft-proof view when possible, and request a proof before approving a larger run.
Can 55printing remove a watermark from an AI image?
A watermark can be a rights warning, so removing the visible mark does not prove that you may use the image. Replace the asset with an authorized source or ask for a new image you have permission to print. 55printing can review the file and its layout, but the customer remains responsible for artwork rights and approved content.
What bleed should an AI design have?
Use the current product template because bleed depends on the product and how the piece is finished. A common commercial reference is 0.125 inch beyond the trim on each edge when full-bleed artwork reaches the cut. Keep backgrounds extended into that area and keep important text, logos, faces, and QR codes inside the safe zone.
Is 300 DPI enough for AI-generated artwork?
300 PPI is a common high-quality print reference at the final placed size, but metadata alone is not enough. Divide the image’s pixel width by its placed width in inches to calculate effective resolution. A 1,200-pixel image is 300 PPI at 4 inches wide and 150 PPI at 8 inches wide, so product size and viewing distance matter.
Can AI-generated text be used on a flyer or business card?
Do not trust generated lettering for phone numbers, addresses, names, prices, URLs, legal lines, or brand marks. Replace it with approved live text or an authorized source. Compare every character in the PDF proof with the written source, and test any QR destination from the final layout. A convincing-looking word can still contain a wrong letter.
What does the free 55printing file review include?
The current File Uploader lets customers send artwork, add notes about the product or file purpose, and ask for a free file review. The page says the prepress team reviews the files against order specifications and sends a PDF proof when approval is needed. Scope remains tied to print setup and review, not unlimited custom redesign or image licensing.
What should I write in the uploader notes?
Name the product, finished size, side or page, filename and version, exact problem, protected details, and requested proof check. For example, say that the front flyer has a dark lower gradient, needs bleed checked, and must preserve the supplied phone number. Clear notes help a reviewer inspect the right file and make a useful correction request.
Does a free PDF proof guarantee the final printed color?
No. A PDF proof is a valuable checkpoint for page size, crop, bleed, safe zone, content, image placement, and version approval. A monitor cannot reproduce every paper, ink, coating, light, or press condition exactly. If color is critical, state that in the review note, inspect the proof carefully, and consider a physical sample when the project allows.
What if the AI file has the wrong size?
Do not stretch it as the final fix. Open the matching product template, create the correct canvas, and rebuild the composition so the crop and hierarchy remain intentional. Place important details inside the safe zone, extend edge art into bleed, and calculate resolution again after resizing. Then upload the new version with clear notes and request a proof.
Upload the original and corrected versions, explain the product and the exact problem, then use a free PDF proof to approve the right file before production.