

Artwork Quality Enhancer for Print: Restore Soft Files Without Guessing
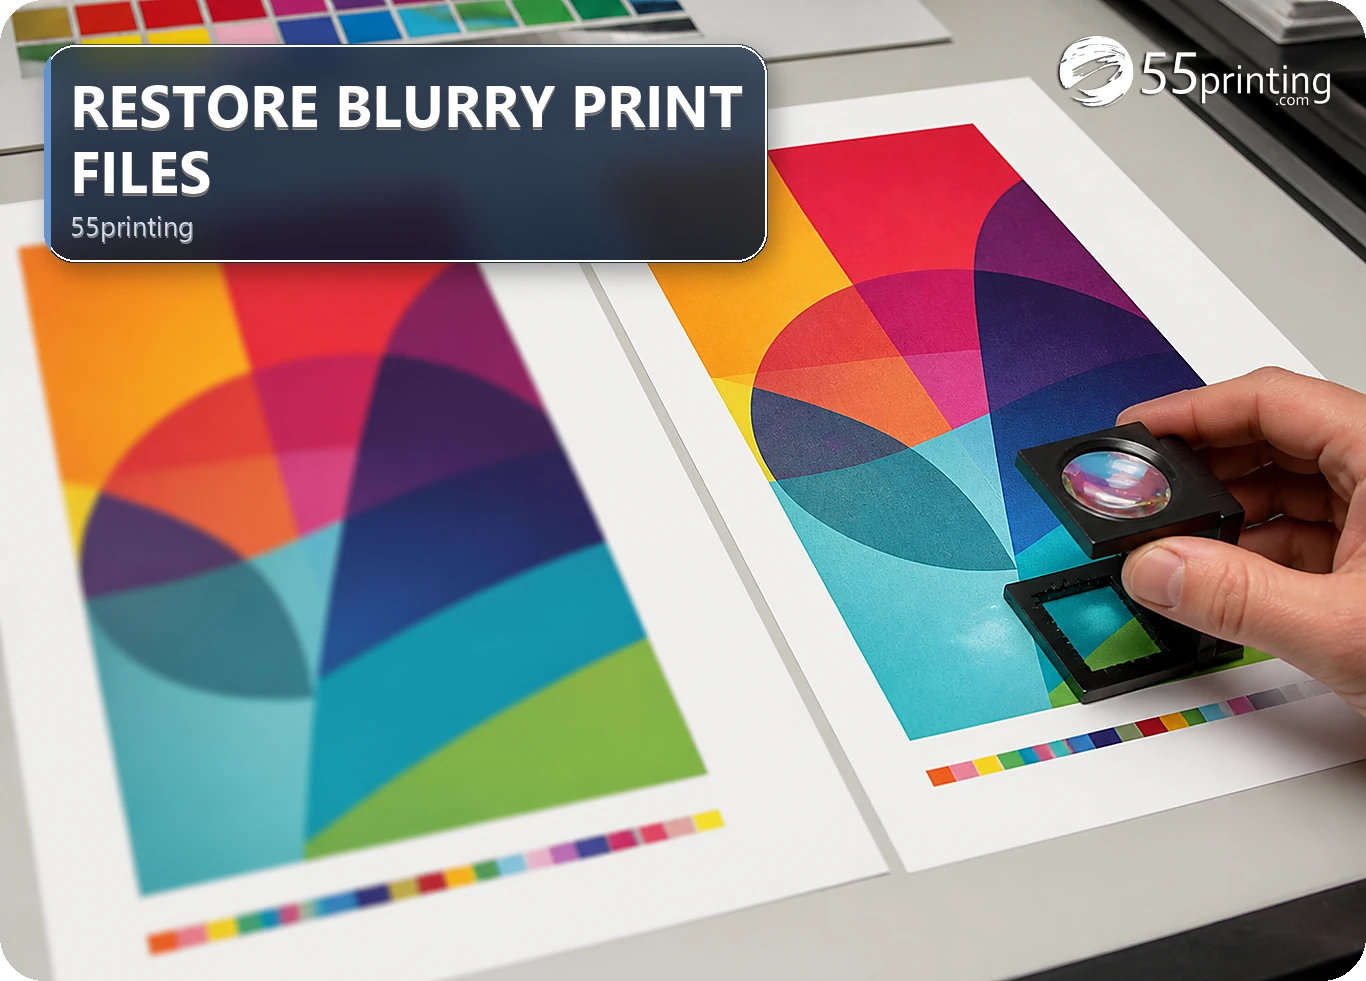
Use Artwork Quality Enhancer when the source contains recognizable shapes, words, or edges that became soft through compression or resizing. Start with Safe Enhance for general clarity and consider Text Rescue when lettering is the main problem. Save the original, compare the result at print size, and request a proof. Enhancement cannot recreate detail absent from a tiny screenshot.
A soft file can come from a small original, repeated JPEG saves, a screenshot, or a resize that reduced edge detail. Those causes look similar at first, but they need different decisions. The Artwork Quality Enhancer from 55printing is a reasonable first test when the source still contains the logo shape, letter structure, and image edges you need. It is not a replacement for an original asset or a final proof.
What should you check before enhancing a blurry file?
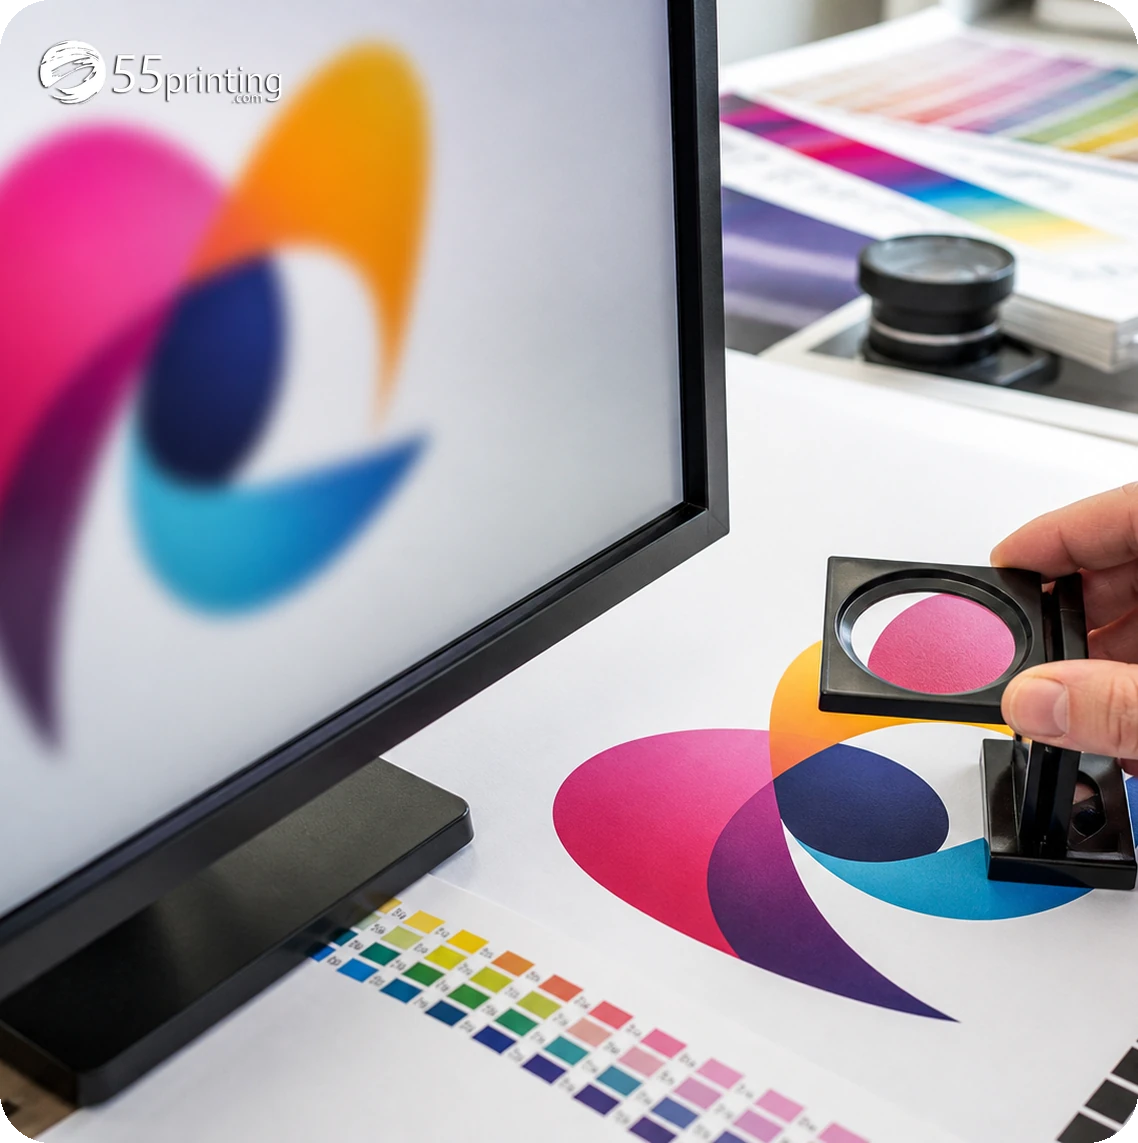
Open the original at a useful zoom and inspect three areas: fine text, logo edges, and photographic detail. Ask if the shapes are present but soft, or if pixels are missing entirely. A clear vector logo saved into a poor raster export may respond well to a clarity pass. A tiny web screenshot may show only a few pixels per letter and cannot support a reliable recovery.
Record the product and finished size before editing. A file that looks acceptable on a phone may be too soft when placed on a card, flyer, or sign. Keep the original unchanged, create a versioned copy, and write down which mode you used. That small record makes a later proof easier to compare.
- Keep the source file and the repaired file separate.
- Inspect the smallest text at the intended product size.
- Check the logo against an approved source if one exists.
- Stop if the tool changes a word, mark, or important shape.
When should you use Safe Enhance or Text Rescue?
Use Safe Enhance when the overall artwork is soft and the wording, layout, and marks are already correct. It gives you a general clarity test while leaving the design decision in your hands. Consider Text Rescue when the main concern is lettering that is present but difficult to read. Review every word afterward because text clarity does not grant permission to change the copy.
| Visible problem | First test | Stop and reassess when |
|---|---|---|
| Photo or logo edges look soft | Safe Enhance | Edges become halos or shapes change. |
| Words are present but difficult to read | Text Rescue | Letters, spelling, or font character changes. |
| Tiny screenshot has missing pixels | Find the original asset | The output invents a mark or letter. |
| Wrong product canvas | Matching template first | Clarity improves but size remains wrong. |
| Repaired file seems ready | File Uploader and proof | The proof differs from the intended version. |
How do you compare an enhanced file with the source?
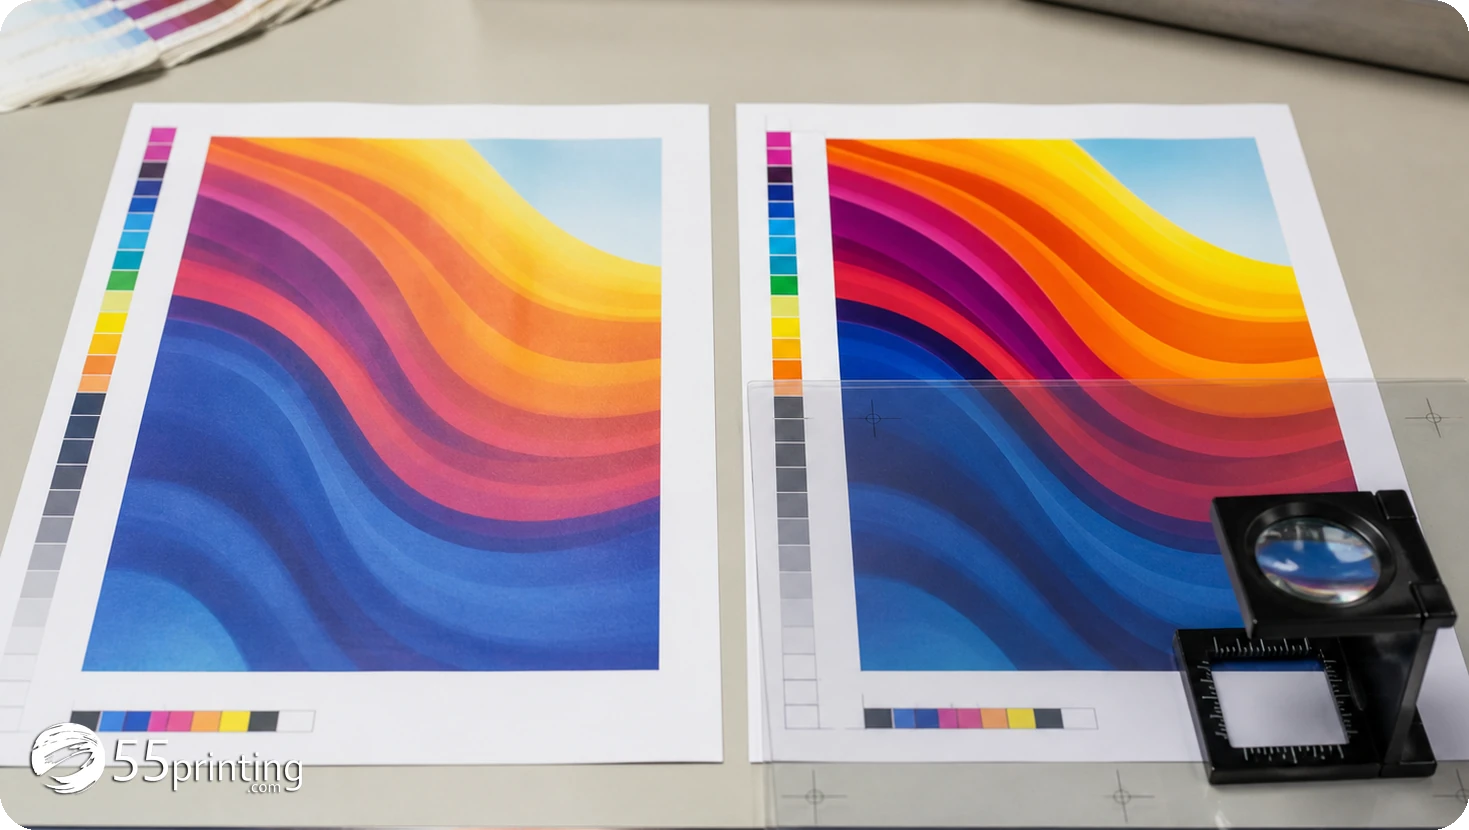
Compare side by side at the size the customer will read, then zoom in for fine edges. Check spelling, contact information, logo proportions, photo faces, thin lines, and any small symbols. A visually sharper file can still be wrong if an edge has been redrawn or a character has changed.
- Open the original and repaired copy together.
- Check words and numbers character by character.
- Inspect marks, faces, and thin lines for invented detail.
- Place the repaired artwork in the correct product canvas.
- Give the final file a clear version name.
- Use a proof to review the production-sized result.
Do not judge the result only from the enhancement screen. The product size, bleed, safe zone, and page order still belong to the layout and proof stages. If the clarity test succeeds, it is one step in preparation, not the final approval.
When should you request a new asset instead?
Ask for the original logo, vector file, higher-resolution image, or clean text source when the screenshot is too small, the logo is partly missing, or the repair changes the meaning. A new source gives the design a better starting point than repeated enhancement passes. If no replacement exists, explain the limitation in the upload notes and ask for staff guidance.
Privacy and file-handling language should come from the current tool page. Do not promise a deletion period or a file-size limit from memory. Check the live route before release if those details matter to the reader. The durable rule is simpler: use the visible tool controls, keep the source traceable, and review the output before it becomes the final file.
What should happen after enhancement?
Place the repaired artwork into the exact product template or chosen canvas. Recheck bleed, safe zone, orientation, and page order. Name the final file with the product and version, then use the File Uploader with notes that identify what was changed. The free PDF proof is the point to confirm the repaired artwork at the proposed production size.
What does the stop rule look like in real jobs?
Soft logo with recognizable letters
Keep the source, test Safe Enhance, compare each letter, and place the result on the matching canvas. Request a proof before approval.
Small web screenshot of a logo
Do not treat sharpening as a redraw. Find a vector or larger original, or ask for a replacement asset before the file enters production.
Readable flyer with one soft photo
Test the photo without changing the finished layout. Compare the repaired image with the source, then review crop and edge placement in proof.
Questions customers ask
Can the enhancer fix every blurry print file?
No. It is a better candidate when the source still contains recognizable edges, words, and shapes that became soft through compression or resizing. A tiny screenshot with missing pixels may produce altered letters or marks. Compare the result with the original and request a better asset when the source cannot support recovery.
What is Safe Enhance for?
Safe Enhance is the first general clarity test when the layout and wording are already correct but edges or images look soft. Save the source, compare the result at the intended product size, and stop if the pass introduces halos, changes proportions, or makes a mark less faithful.
What is Text Rescue for?
Text Rescue is suited to a file where lettering is present but difficult to read. Treat it as a clarity aid, then compare every word, number, and character with the approved copy. Clearer text is useful only when it remains the same text the customer intended to print.
Should I enhance a 72 DPI screenshot?
Do not use a screenshot resolution as proof that a file can be restored. A small screen capture may lack the pixels needed for clean type or a logo mark. Keep it as a reference, look for the original asset or vector file, and ask for guidance before making it the production source.
What file types can I use?
Use the current Artwork Quality Enhancer route to confirm the file types and limits shown there before making a promise to a customer. The important preparation rule is to preserve the source, upload a clearly named copy, and inspect the returned result before placing it into a final product layout.
Does enhancement replace a print proof?
No. Enhancement addresses the source image or text clarity problem. A proof still checks the product canvas, page or side order, crop, bleed, safe zone, spelling, and the repaired artwork at the proposed production size. Approve only the version that matches the intended job details.
What if the logo changes after enhancement?
Stop using that version as a final asset. Compare the changed mark with the original or an approved logo source, then request a vector or higher-resolution file if available. If the change is unavoidable, describe it in notes and ask staff to review the result before proof approval.
What should I include in upload notes?
State the product, finished size, sides, final filename, and the exact change made, such as a clarity pass on the logo. Identify the source version when names are similar. Clear notes help a reviewer compare the intended repaired file with the proof instead of guessing which version was uploaded.
Keep the original, compare the repaired file, and move to the correct canvas and proof when it is ready.