

Which 55printing Tool Should You Use First?
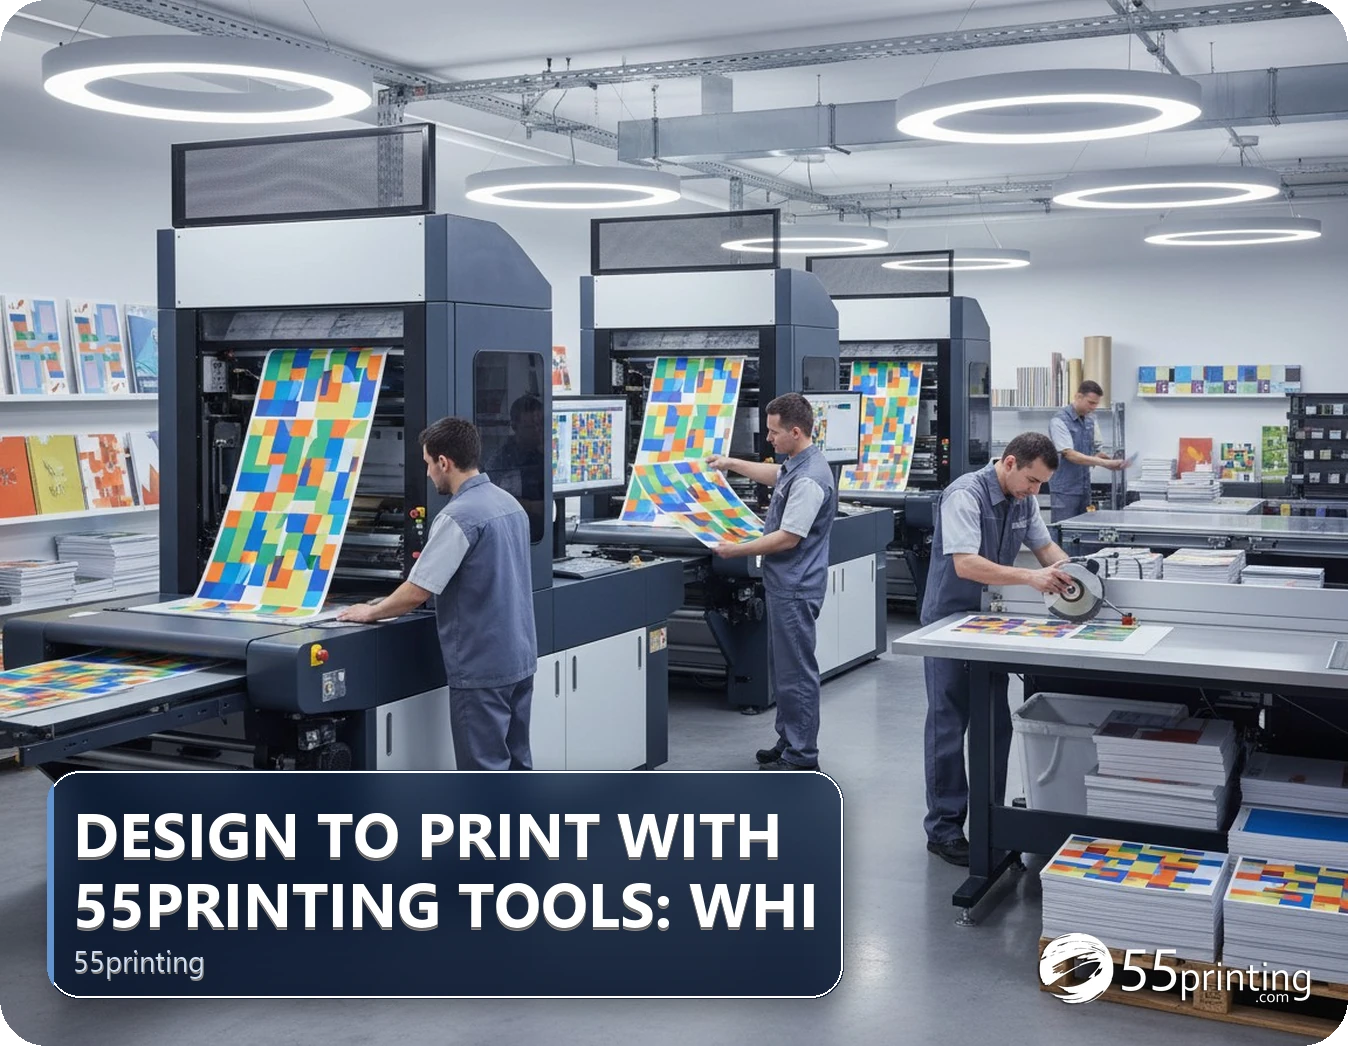
Start with the tool that matches the file problem: Artwork Quality Enhancer for soft artwork, AI Uncrop for missing edge background, a guideline template for a new size, and the File Uploader plus free PDF proof for a nearly finished file. Online Designer is an account-based route, so sign in before treating it as the first step.
A print tool is useful only when it solves the problem in front of you. A blurry logo, a missing background edge, a wrong finished size, and a finished PDF need different first actions. This walkthrough gives you a short diagnostic route for 55printing tools, then shows the checks that belong between editing and upload. It also marks the point where an account or staff proof becomes part of the workflow.
What should you inspect before opening a tool?
Look at the file in this order: finished product, visible defect, source format, and approval status. Write down the product and size before changing pixels. Then ask one narrow question: is the file unclear, incomplete at the edge, built on the wrong canvas, or ready for review? That answer prevents a repair tool from being used as a substitute for a new layout.
For example, a phone photo of a logo may need clarity work, while a Canva flyer that ends at the trim may need added background. A business card built at the wrong size needs a matching template or a new document. A clean PDF with the correct dimensions can move to upload and proof. These are different states even when they arrive in the same folder.
- Record the product and finished dimensions.
- Circle the defect you can see instead of guessing at the cause.
- Keep the original file before creating a repaired version.
- Use a proof to check the finished result, not to replace basic file preparation.
Which 55printing tool matches each file problem?
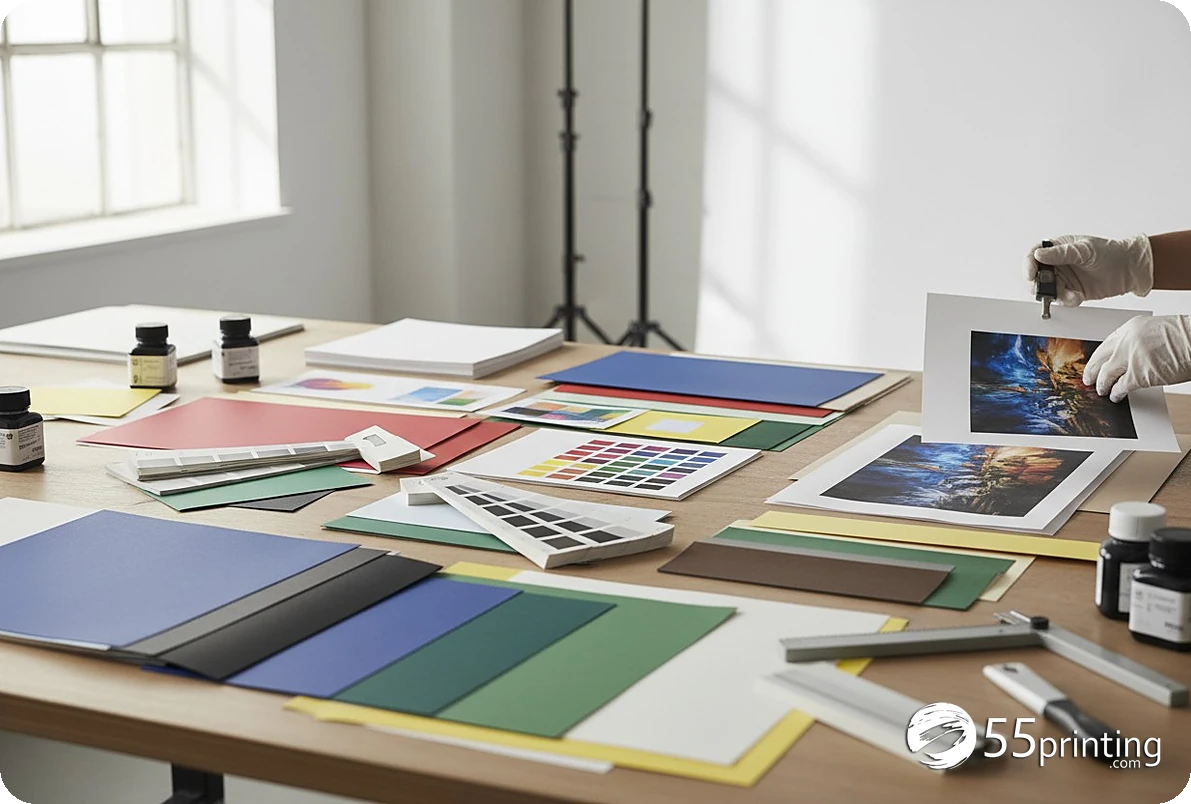
The safest route starts with the smallest change that addresses the defect. Open the Artwork Quality Enhancer when a logo, photo, or type edge looks soft. Use AI Uncrop when the artwork reaches the trim but the background needs room beyond the edge. Use guideline templates when the product size, bleed, or safe zone is still undecided.
If the design must be created from a blank canvas, check the Online Designer route after signing in. If the file already has the right size, bleed, and readable detail, stop editing and move to the File Uploader with notes. The free PDF proof is the review step for catching a wrong side, trim concern, or last-minute content error.
| What you see | Start here | Check next |
|---|---|---|
| Soft logo or photo | Artwork Quality Enhancer | Inspect small type and fine edges at print size. |
| Background stops at the trim | AI Uncrop | Review the extended area for invented or unwanted detail. |
| Wrong product canvas | Matching guideline template | Keep the final size and safe zone visible while designing. |
| New design from a blank page | Online Designer after sign-in | Reopen the saved design and confirm the chosen product. |
| Correct, finished file | File Uploader | Read the free PDF proof before approval. |
What order should the tools follow?
Use a repair before a layout decision only when the repair changes the source you will place. A practical sequence is: choose the product and size, repair clarity or edge coverage, place the artwork on the correct template, inspect the finished layout, upload the final file, and review the proof. Keep a version name such as postcard-front-repaired-v2.pdf so the upload note identifies the intended file.
- Choose the exact product, finished dimensions, and sides.
- Repair a genuine clarity or edge problem while keeping the original.
- Place the repaired artwork in the matching template or designer canvas.
- Check text, logos, bleed, safe zone, and page order.
- Upload one clearly named final file with a short production note.
- Review the free PDF proof and approve only the version you intend to print.
Do not send a blurry source through several tools just because each tool is available. Each extra save can create a new version to confuse with the approved file. A clear file history is part of print quality because the right visual fix still fails if the wrong file reaches proof.
Does Online Designer work before sign-in?
The public Online Designer link currently reaches a My Account boundary for a guest visitor. Treat it as an account-based design route: sign in, confirm that the designer opens, and reopen the saved project before relying on it for a deadline. The Tools Hub remains the public starting point for comparing available paths.
This distinction matters for planning. A reader who needs to make a new card in a browser may need account access before the design step. A reader with a finished PDF does not need to enter the designer at all. The File Uploader and proof path can be the shorter route, provided the file has the correct dimensions and readable artwork.
What makes a useful upload and proof handoff?
A good handoff answers the questions a reviewer would otherwise have to ask. Include the product, finished size, sides, file name, and needed date in the upload notes. Mention any intentional white border, panel order, or edge treatment. If the file has several versions, identify one final filename and remove obsolete drafts from the immediate upload selection.
When the proof arrives, compare it with the source and the job details. Check the page count, orientation, crop, text, logo edges, image placement, and any information close to trim. A proof is a decision point: approve only after the file, product, and visual result agree. If they do not agree, state the exact change needed instead of sending a general request to fix it.
How does the route change for common jobs?
Phone photo logo for business cards
Keep the original logo photo, use Artwork Quality Enhancer for a clarity test, then place the result in the correct business-card template. Inspect small type at the intended size. If detail is still missing, request staff guidance instead of presenting sharpening as a redraw.
Canva flyer with no edge background
Save the Canva export, use AI Uncrop only for the missing background area, and inspect the extension around faces, products, and text. Place the result on the flyer canvas, confirm the safe zone, then request a proof. The added area needs human review.
Clean PDF for a deadline
Confirm product size, page order, and legibility. Skip repair tools, upload the named PDF, add production notes, and review the proof. The shorter route has fewer opportunities to replace a correct file with an untracked edit.
Questions customers ask
What should I use for a blurry logo?
Start with Artwork Quality Enhancer when the source has recognizable logo shapes but soft edges. Save the original first, compare the repaired version at the intended print size, and stop if letters or marks change. A sharpening result is a file aid, not proof that a missing logo can be recreated.
Can AI Uncrop fix a missing bleed?
AI Uncrop can be a useful first test when a background needs extra room beyond the trim. Inspect the new area closely around people, products, and text. If the extension invents an important detail or changes the design intent, return to the source or ask for staff guidance before upload.
When should I download a guideline template?
Download the matching guideline template before designing when the finished product, dimensions, bleed, or safe zone are not settled. Select the exact product and size, then keep the guide visible while placing artwork. A template for a different size is not a safe substitute.
Do I need Online Designer for a finished PDF?
No. A correctly sized, readable PDF can go to File Uploader and the free PDF proof path without entering Online Designer. Use the designer when you need to build or edit in a browser, and remember that the public route currently meets a My Account boundary for guests.
What should I write in upload notes?
State the product, finished size, sides, final filename, and needed date. Add any intentional border, panel order, or edge instruction that a reviewer should preserve. Clear notes help distinguish the intended version when several files have similar names. Include the version in the note so the reviewer can match it.
What does the free PDF proof check?
Use the proof to compare the proposed production result with your chosen product and artwork. Review page count, orientation, crop, text, logo edges, image placement, and details near trim. If something is wrong, identify the exact change and wait for the corrected proof before approving.
Should I run more than one repair tool?
Usually, choose the one tool that matches the visible defect and compare its output with the original. A second edit is justified only when it solves a separate problem and the new version remains traceable. Repeated saves can make it harder to know which file was reviewed.
What if the source is too small to recover?
Keep the source and describe the limit in your notes. A tool may improve edges, but it cannot guarantee details that were never present in a tiny screenshot. Ask for a higher-resolution logo, a vector original, or staff guidance before treating the file as ready for production.
Match the tool to the visible file problem, then use upload and proof review for the final handoff.