

Bleed, Safe Zone, and Trim Marks: Use the Right Guide Line
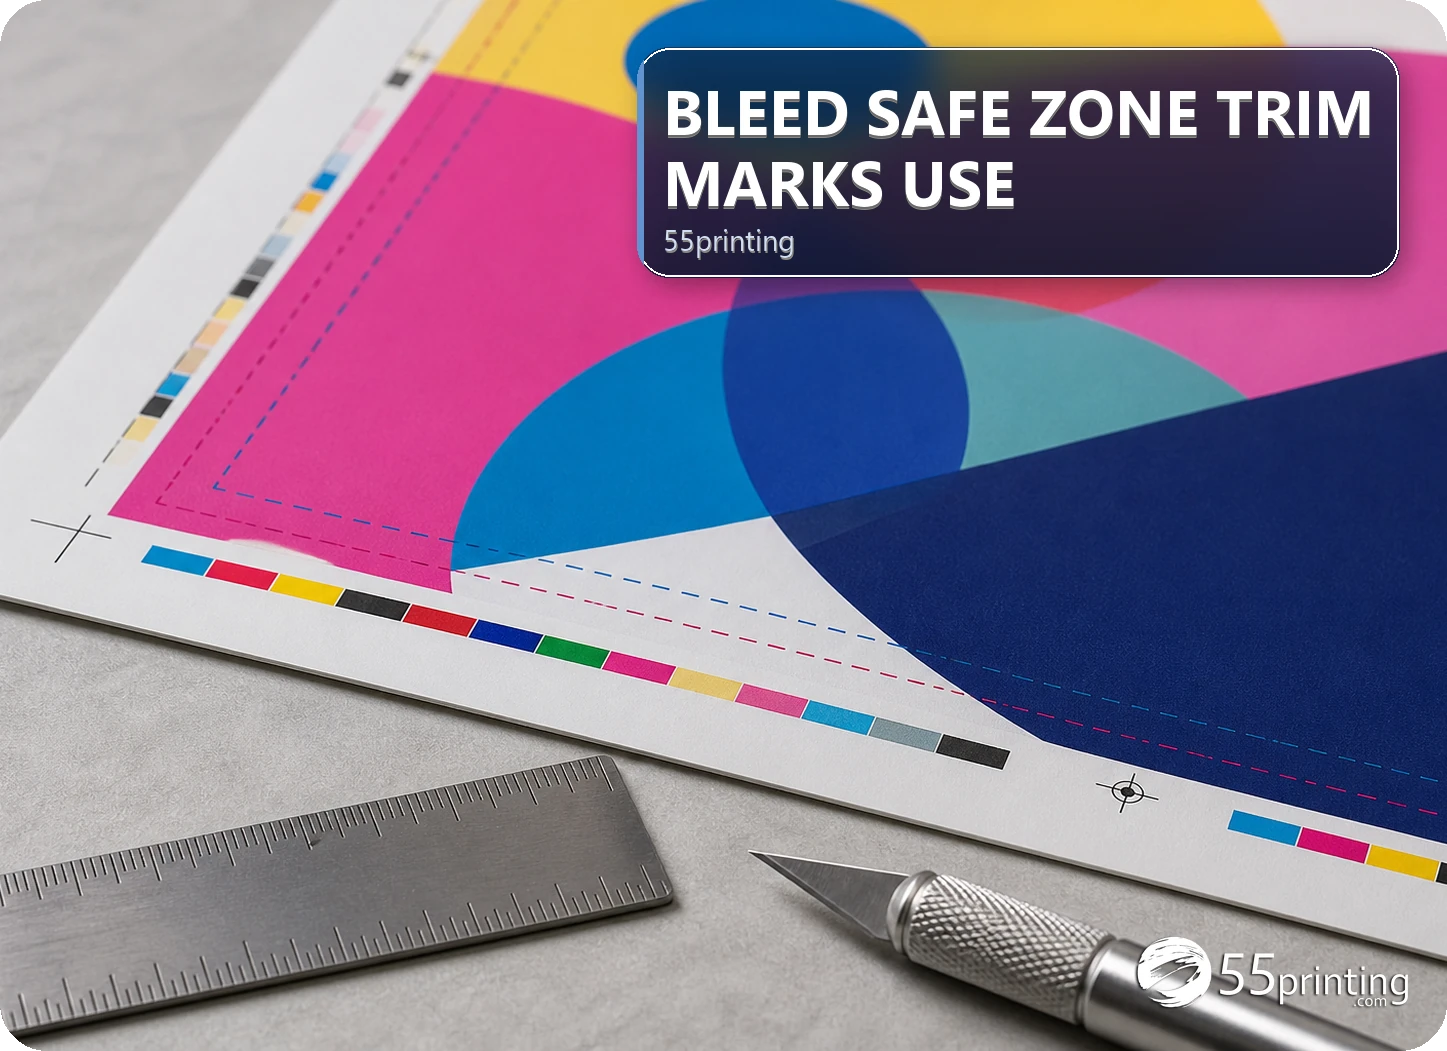
Use the current 55printing guideline template for the exact product canvas, then treat bleed as background extension, the trim line as the intended cut, and the safe zone as the area for important text and marks. Remove guide lines from the final artwork when required, keep phone numbers and QR codes inside the safe zone, and compare the placement in proof.
The 55printing Guideline Templates route is the starting point for product canvas, bleed, and safe-zone decisions. A guide line is not decorative advice: it identifies where background may extend, where trimming is intended, and where exact content needs distance from the edge.
What is the job of bleed, trim, and safe zone?
Bleed is extra background or image area beyond the intended trim. The trim line represents the planned cut. The safe zone is the interior area where important content has more room from the edge. Use the current product template because dimensions and guide colors can vary by product.
| Guide | Use it for | Do not use it for |
|---|---|---|
| Bleed | Extend background or image | Protect text from the cut. |
| Trim line | See intended finished edge | Guarantee zero production movement. |
| Safe zone | Keep text, logos, phone, and QR inside | Place background edges. |
| Template canvas | Set product size and orientation | Replace proof review. |
How should you start with a guideline template?
Choose the product and orientation that match the job. Download the current template, keep the guide layer visible while placing artwork, and record the version or source path. Do not mix a postcard template with a flyer canvas or assume similarly named products share the same safe zone.
- Confirm product, size, and orientation.
- Open the matching template.
- Place background through the bleed.
- Keep exact content inside the safe zone.
- Check crop, fold, and reading direction.
- Hide or remove guide lines as instructed.
How do you place content on the template?
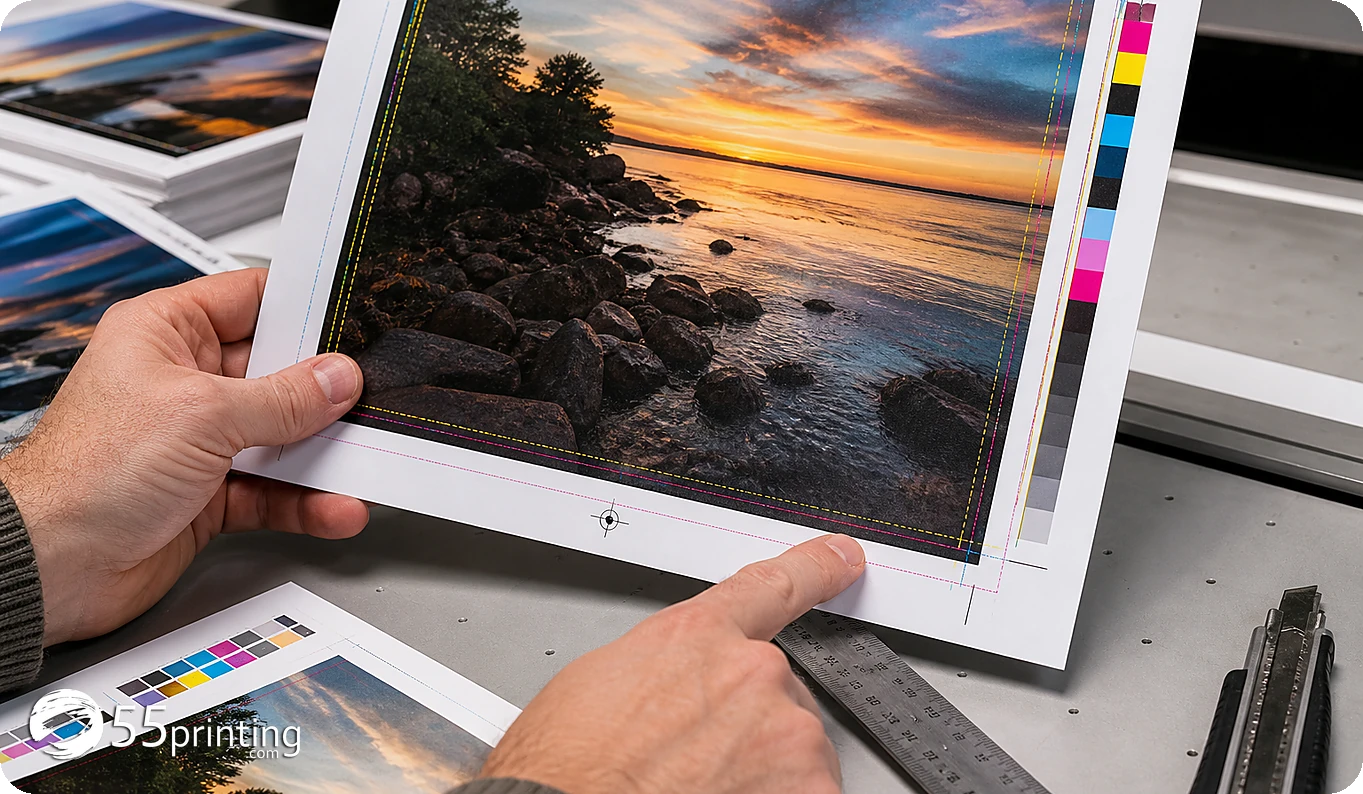
Extend background color, photo, or pattern beyond the trim when the design calls for a full edge. Keep phone numbers, URLs, faces, logos, QR codes, and small type inside the safe zone. Check the complete reading view, then zoom in on the edge and exact marks. Guide lines should help placement, not become accidental artwork.
- Check every text block against the safe zone.
- Keep QR codes away from risky cuts.
- Extend background through bleed.
- Inspect the trim edge and crop.
- Remove guide lines from final art when required.
- Save a named template-based version.
What should happen before upload and proof?
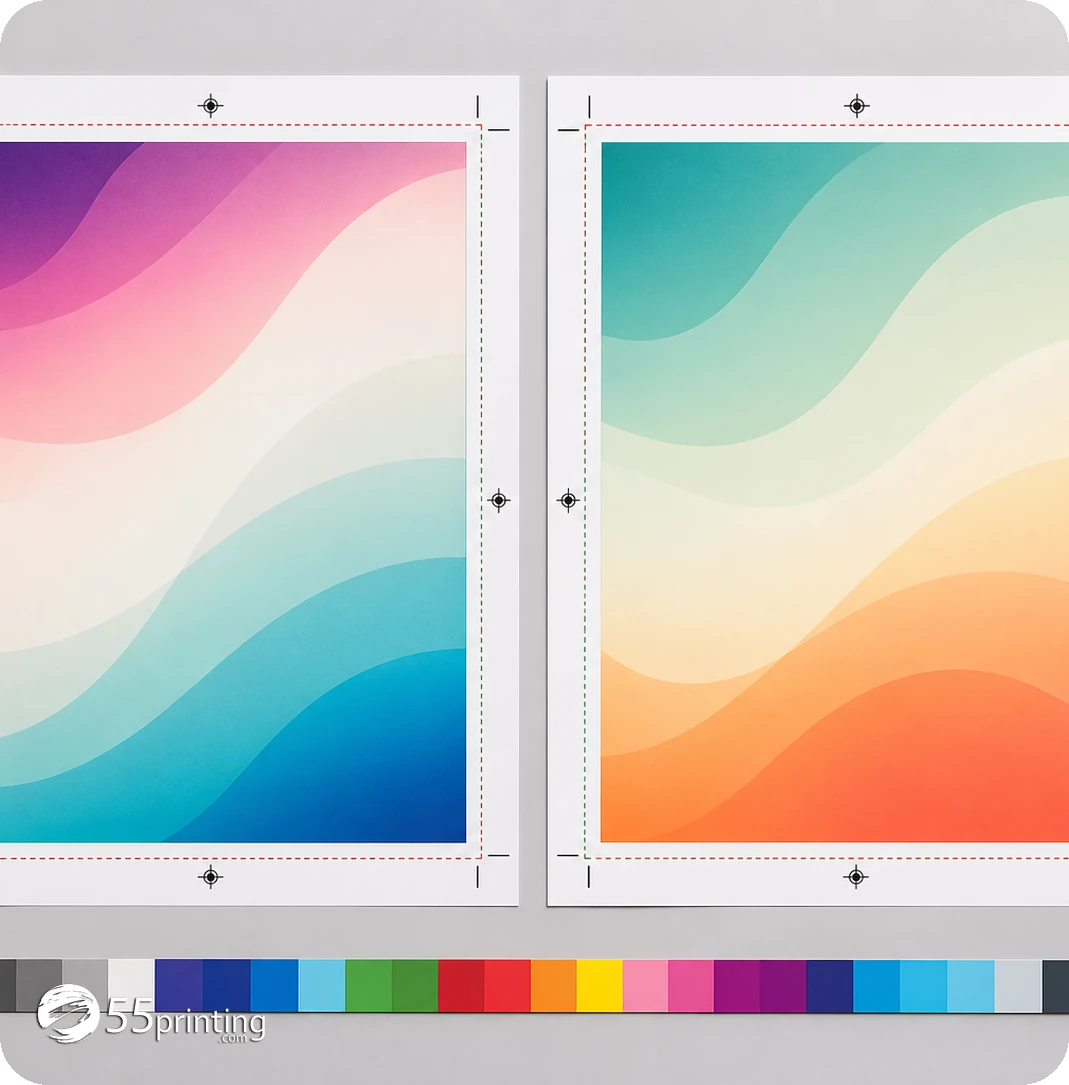
Use the File Uploader with the product, template version, and any edge concern in the note. The free PDF proof is where crop, content placement, page order, and safe-zone decisions receive a final visual comparison. Keep the template source available if a question arises.
Which template jobs need extra care?
Full-bleed postcard photo
Extend the photo past trim and keep the offer, phone, and QR code inside the safe zone. Inspect the face and edge crop in proof.
Business card with a border
Keep the border decision separate from the guide lines. A narrow border near trim can show movement more clearly than a full-bleed background.
Folded panel artwork
Use the product-specific template and reading direction. Keep important copy away from trim and fold areas shown by the current guide.
Questions customers ask
What is bleed for?
Bleed gives a background or image extra area beyond the intended trim. It helps avoid a white sliver when the edge is cut, but it does not protect text, logos, phone numbers, or QR codes. Keep exact content inside the safe zone and check the current product template.
What is the safe zone?
The safe zone is the interior area intended for important content. Keep text, logos, faces, phone numbers, URLs, and QR codes inside the current product guide. The exact distance depends on the template, so use the matching product rather than a generic margin and review the proof.
What do trim marks show?
Trim marks or a trim line show the intended finished edge. They help you judge crop and placement, but they are not a promise that every physical cut will land on one exact pixel. Keep important content away from that edge and note any border risk.
Can background go outside trim?
Yes, full-bleed background often extends beyond the trim when the product template calls for it. Extend the background or photo, not the important copy. Check crop and edge coverage in the proof, including faces, patterns, and exact marks near the edge. Compare both the full page and the close crop.
Should I keep guide lines in final art?
Follow the current template instructions and remove or hide guide lines when the final file should contain artwork only. Keep a guide-layer working file separately so placement can be reviewed without sending colored guides into production or confusing the final proof.
Can bleed fix a wrong product size?
No. Bleed is one part of a product canvas. Confirm size, orientation, safe zone, folds, and trim with the matching template before placing the artwork. A generous background cannot correct a wrong page geometry, fold position, or product choice. Rebuild on the correct template.
Where should a QR code go?
Place it inside the safe zone with its quiet area intact and away from the trim. Review the code at intended size and include it in the proof check. A guide template does not prove that every final code scans, so test the destination separately.
What should the upload note say?
Name the product, template version, bleed treatment, exact details checked, and edge concern. Ask the reviewer to compare crop, trim, safe zone, phone, logo, and QR placement in the proof. Include whether guide lines were removed from the final art and which file is the source.
Download the product template, extend background through bleed, protect exact content, and proof the crop.