

PDF to JPG for Print: DPI, Size, and Export Checks
Use PDF to JPG when a page needs a raster preview, a single-page image, or a quick visual check. Confirm the finished page size first, choose a resolution that preserves readable detail, inspect small type and thin lines, and keep the original PDF. A JPG export is not automatically a print-ready replacement for the source PDF.
A PDF page can contain vector type and shapes that stay sharp at many sizes, while a JPG is a raster image made from pixels. The PDF to JPG tool from 55printing is useful when a page needs an image preview or a single-page raster export. Start with the finished product size, because a DPI label without a page dimension does not tell you how much detail the JPG contains.
What should you check before converting a PDF to JPG?
Open the original PDF and identify the page, finished size, orientation, and smallest important detail. Check whether the page includes small type, hairlines, QR codes, logos, or photographs. If the PDF is the source that will be submitted for production, keep it unchanged and create the JPG as a named review copy. That makes it possible to compare the raster result with the source.
Also confirm whether the destination needs one image or the complete multi-page document. A JPG is page-based, so every PDF page becomes a separate image or a separate conversion result. Do not combine a preview export with a production upload without checking the current submission instructions.
- Record the page size before selecting a resolution.
- Keep the original PDF and the exported JPG in separate folders.
- Note whether the image is for a screen preview, review, or production handoff.
- Check that page order and orientation are preserved.
How should you choose DPI for a print JPG?
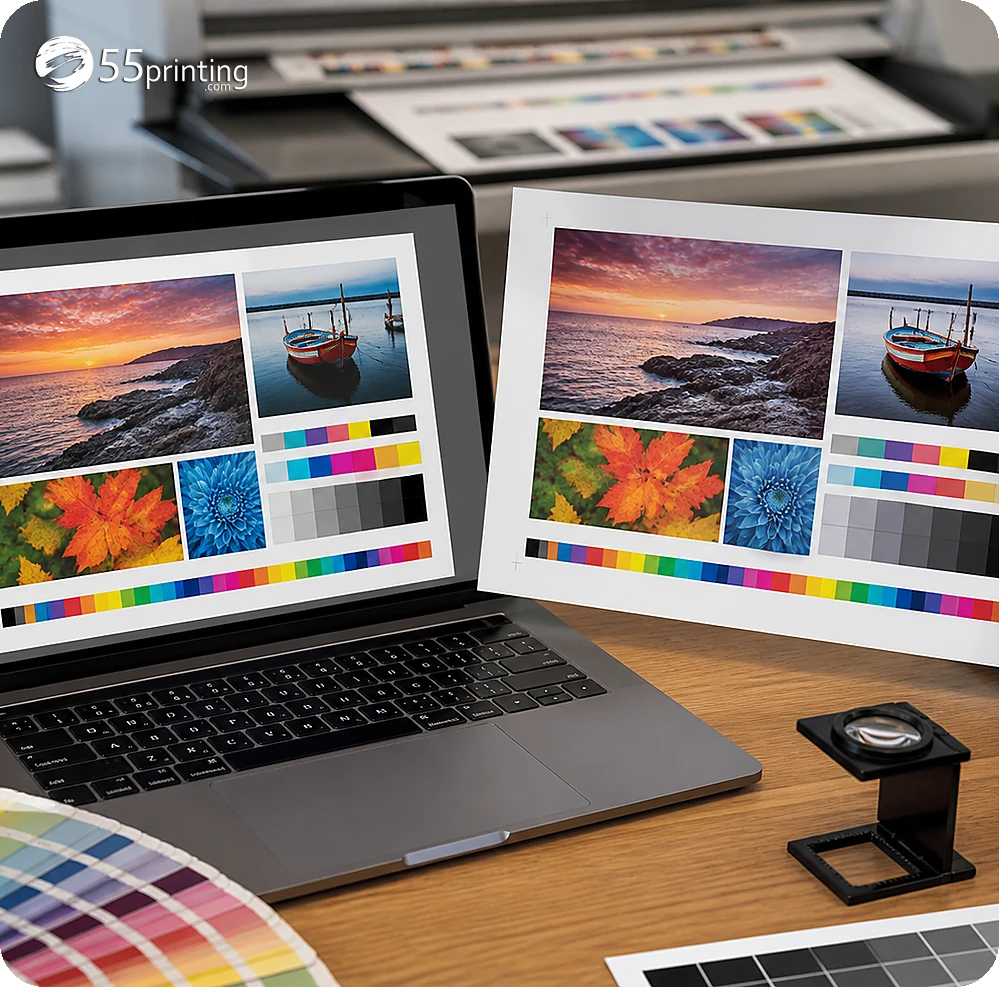
DPI describes a raster export’s sampling density, but the actual pixel dimensions depend on both DPI and the physical page size. A letter-size page exported at one resolution has a different pixel count from a postcard exported at the same resolution. Choose the finished size first, then select a setting that keeps text, lines, and image detail readable at that size.
| Intended use | First choice | Review before handoff |
|---|---|---|
| Quick browser or email preview | Smaller raster export | Headings and layout still need to be readable. |
| Proof or customer review | Higher-detail JPG | Check type, thin lines, crop, and page size. |
| Single-page image request | Export at the finished page size | Compare pixel dimensions with the requested use. |
| Small text or fine line artwork | Use the higher available detail that fits the workflow | Inspect at normal reading size and close zoom. |
| Production source is still a PDF | Keep the PDF as the source | Do not replace vector content with a JPG without instruction. |
There is no single DPI number that repairs a low-detail source. If the original PDF contains a tiny placed screenshot, exporting it at a higher setting may create a larger file without recovering missing pixels. The source asset, page size, and readable detail matter together.
What is a safe PDF to JPG export sequence?
Open the 55printing PDF to JPG route, select the intended PDF, and work from a copy whose filename identifies the page and version. Use the visible controls offered by the current tool page. If the interface exposes resolution or page choices, match them to the finished size and review purpose rather than choosing from a label alone.
- Save the original PDF before conversion.
- Confirm page number, orientation, and finished dimensions.
- Choose the visible resolution setting for the intended use.
- Export one test page when a document has several page types.
- Open the JPG at full view and close zoom.
- Record the output filename and retain the source PDF.
When color matters, compare the JPG with the PDF in the same viewer or a controlled review environment. Screen color is not a promise about printed color. A JPG may use RGB pixels, while a production workflow may handle color differently. Follow the current route and proof instructions for the actual job.
How do you inspect the JPG after export?
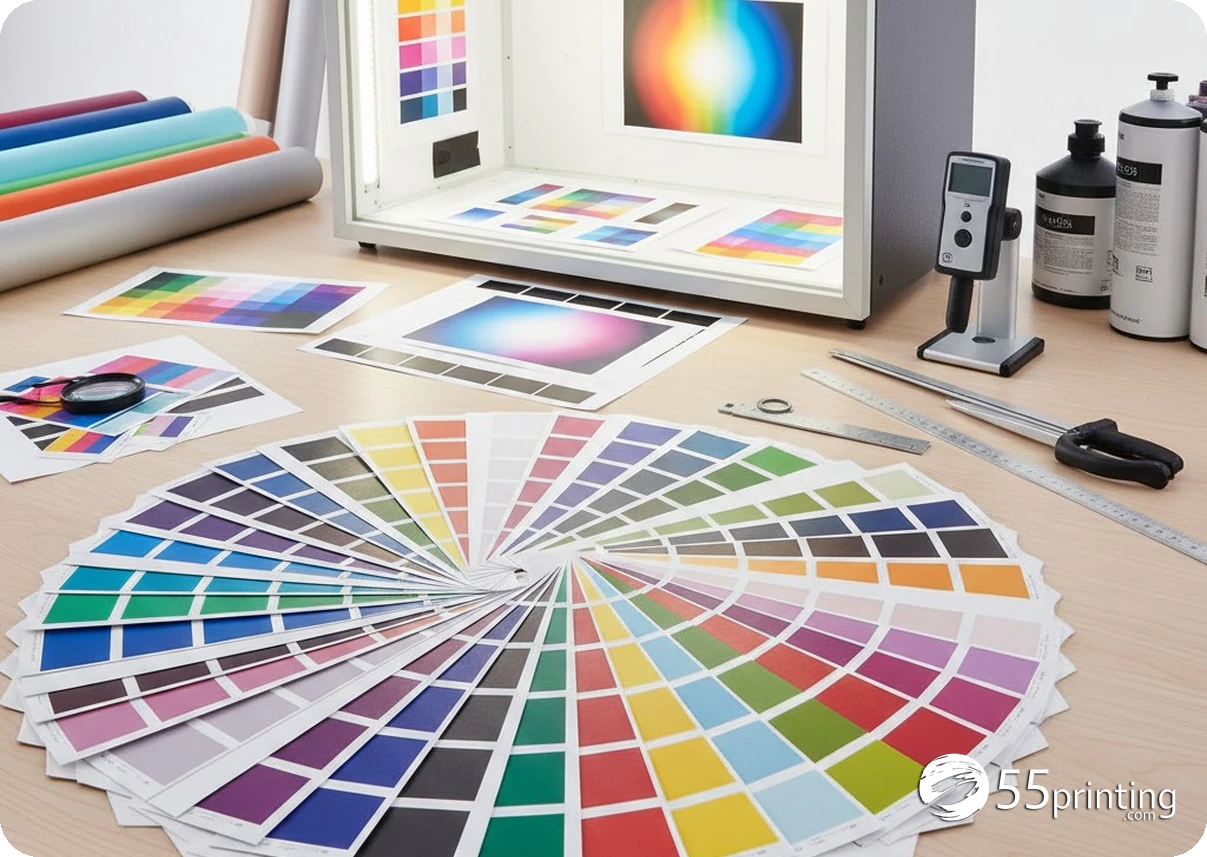
Compare the JPG with the original PDF page by page. Check that no edge is clipped, no page is rotated, and no text has become too soft to read. Inspect thin rules, small numbers, logos, QR codes, and areas with gradients. If a line disappears or a word becomes unclear, return to the source and change the export decision before sending the image forward.
Open the image at the intended finished size as well as close zoom. A large pixel count can still hide a poor source, while a compact review image can be fine for a screen conversation. Write a short note about what was checked so the next person does not mistake a preview JPG for the source document.
Should you upload the JPG or keep the PDF?
Use the file type requested for the task. Keep the PDF when it is the authoritative layout or when vector type and shapes are important. Use a JPG when the workflow calls for a single raster page, a visual reference, or a review image. If the handoff is unclear, keep both versions and identify their roles in the filename and upload note.
Before the handoff, review the matching guideline template for page size, bleed, and safe zone. Then use the File Uploader with the product and version in the note. The free PDF proof remains the place to compare the proposed result with the intended page.
Which PDF to JPG jobs need extra care?
Single-page flyer preview
A JPG can make a quick review image. Check that the page is not cropped and that the smallest headline and contact details remain readable.
Multi-page booklet
Export and label pages separately, then verify order and orientation. Keep the multi-page PDF so the complete document remains available for review.
Small logo or QR code
Compare the raster result closely and use the original PDF or source asset when the mark must remain exact. Do not approve from a small thumbnail.
Questions customers ask
What does DPI mean when exporting a PDF to JPG?
DPI describes how densely the PDF page is sampled into pixels during export. The resulting pixel dimensions also depend on the physical page size. Confirm the finished size first, then inspect readable text and fine lines rather than relying on the DPI label alone.
Is 300 DPI always required for a print JPG?
There is no single setting that fits every review or production request. A higher-detail export can help preserve small type and fine lines, but the source page size and the requested file role still matter. Follow the current workflow instructions and compare the result at finished size.
Should I convert a multi-page PDF into one JPG?
JPG is page-based, so a multi-page PDF normally produces separate page images. Label each output with its page number, verify orientation and order, and keep the original multi-page PDF. Do not combine separate images unless the destination specifically asks for that format.
Can a JPG replace the original PDF?
Usually it should remain a named review or raster copy unless the task specifically requests a JPG. A PDF may preserve vector type and shapes that a JPG turns into pixels. Keep both files and make the authoritative source clear in the filename and upload note.
Why can a high DPI JPG still look blurry?
A high export setting cannot recreate detail that was absent from the source. A tiny screenshot, soft placed photo, or damaged PDF may remain soft after conversion. Compare the output with the source, inspect small details at finished size, and locate a better asset when the mark matters.
Does PDF to JPG change color?
A raster export can display differently because the JPG, viewer, and source PDF may handle color in different ways. Review color areas beside the source in the same environment, avoid treating screen color as a print promise, and use the current proof path for the final check.
What should I check after the JPG export?
Check page number, orientation, crop, finished dimensions, text, thin rules, logos, QR codes, gradients, and the smallest important detail. Open the image at normal reading size and close zoom. Record the output version and keep the original PDF beside it for comparison.
When should I upload the PDF instead?
Keep the PDF when it is the complete layout, when vector content matters, or when the workflow requests the source document. Use a JPG for a requested raster page or review image. If the instruction is unclear, retain both files and state which one is the source.
Choose the page size first, inspect the pixels, and keep the PDF available for proof and production decisions.