

PDF to JPG: 150 vs 300 vs 600 DPI for Print
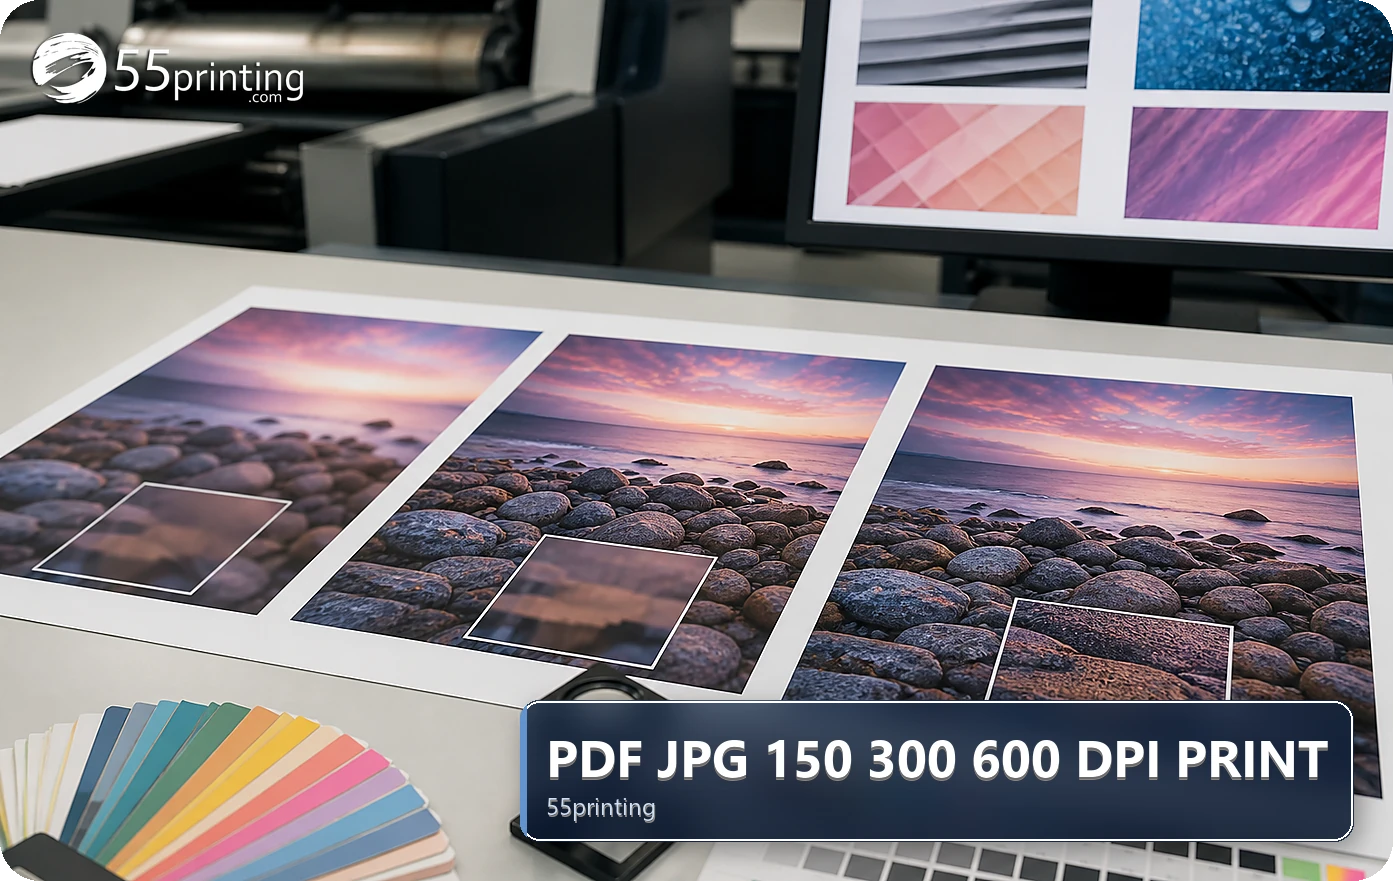
Choose PDF-to-JPG resolution by finished page size, smallest important detail, and the job’s purpose. A smaller setting can suit a quick screen preview, a higher setting can preserve more visible detail for review, and 600 DPI is not a universal requirement. Keep the original PDF, inspect the export, and use the requested file type for the handoff.
A PDF can hold vector text and shapes, while a JPG is a pixel image. The PDF to JPG route is useful when a page needs a raster preview, a single-page image, or a requested JPG handoff. Start with the finished page size, because DPI and pixel dimensions describe a result only when the physical page is known.
What should you check before choosing a DPI setting?
Open the source PDF and identify the page, finished size, orientation, and smallest detail that must remain readable. Mark small type, hairlines, QR codes, logos, and photographs. Keep the original PDF unchanged and make the JPG a named review copy. If the PDF is multi-page, decide whether the recipient needs every page or one selected page.
- Record the finished page size before choosing resolution.
- Keep the PDF source separate from exported images.
- Note whether the JPG is for screen review, proof, or a specific upload.
- Check page order, orientation, and crop after export.
How do 150, 300, and 600 DPI differ?
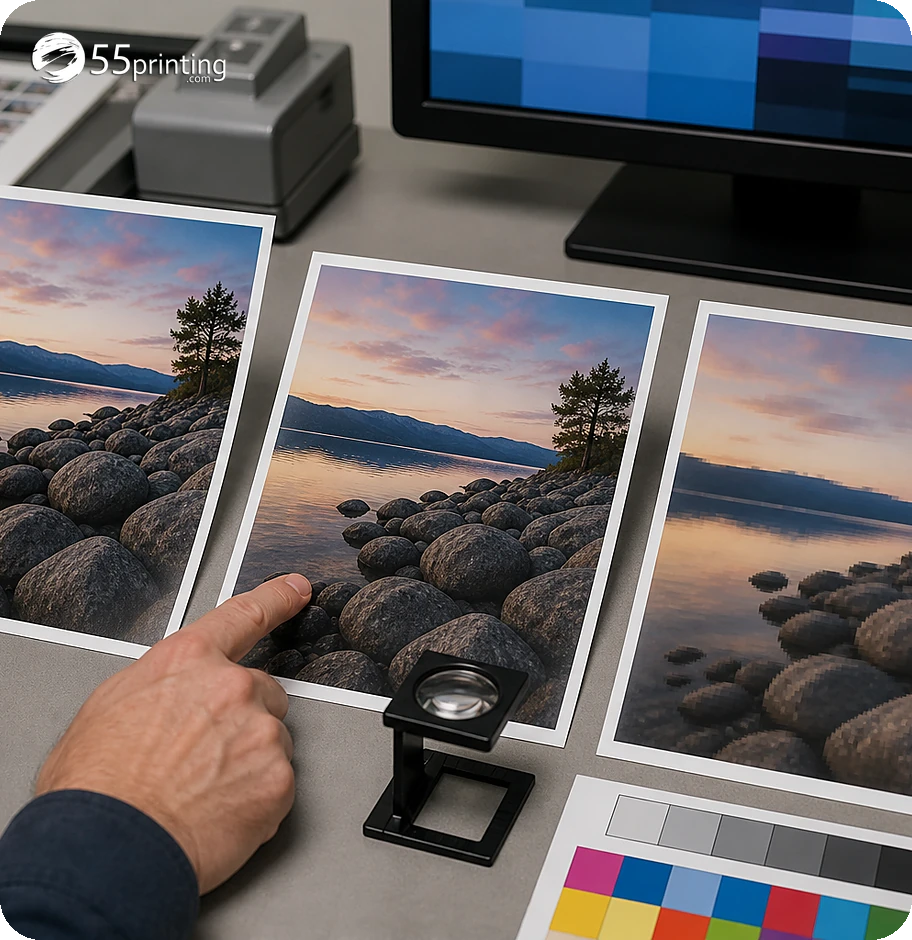
The useful question is what the reader needs to inspect at the finished page size. A smaller export may be enough for a broad layout conversation. A higher export can preserve more visible detail for a close review, but it also creates a larger image. A setting cannot restore detail that was absent from the source.
| Use | First decision | Review point |
|---|---|---|
| Quick screen preview | Smaller export may be enough | Headings, crop, and page order remain clear. |
| Detailed proof conversation | Use more visible detail | Small type, thin lines, logos, and QR codes. |
| Requested raster page | Match finished dimensions | Pixel dimensions and file role are documented. |
| Fine line artwork | Use the higher suitable setting | Compare at normal reading size and close zoom. |
| Authoritative production layout | Keep the PDF | Do not replace vector content with a JPG without instruction. |
There is no universal “best” DPI. The page size, source detail, smallest mark, and destination decide whether a setting is useful. Treat 150, 300, and 600 as possible choices in a workflow, not as automatic quality grades.
What is a controlled PDF-to-JPG export sequence?
Open the 55printing PDF to JPG route and work from a copy whose filename identifies the page, resolution, and version. Use the visible controls offered by the current route. Run one representative page first when a document mixes large photos, small type, and fine lines.
- Save the original PDF.
- Confirm page number, orientation, and finished dimensions.
- Select the visible resolution setting for the intended use.
- Export one representative page.
- Open the JPG at normal size and close zoom.
- Record the output filename and retain the source.
When color matters, compare the JPG with the PDF in the same review environment. A screen view is not a promise about printed color. Keep the proof and production instructions separate from the raster conversion decision.
How do you inspect the JPG after export?
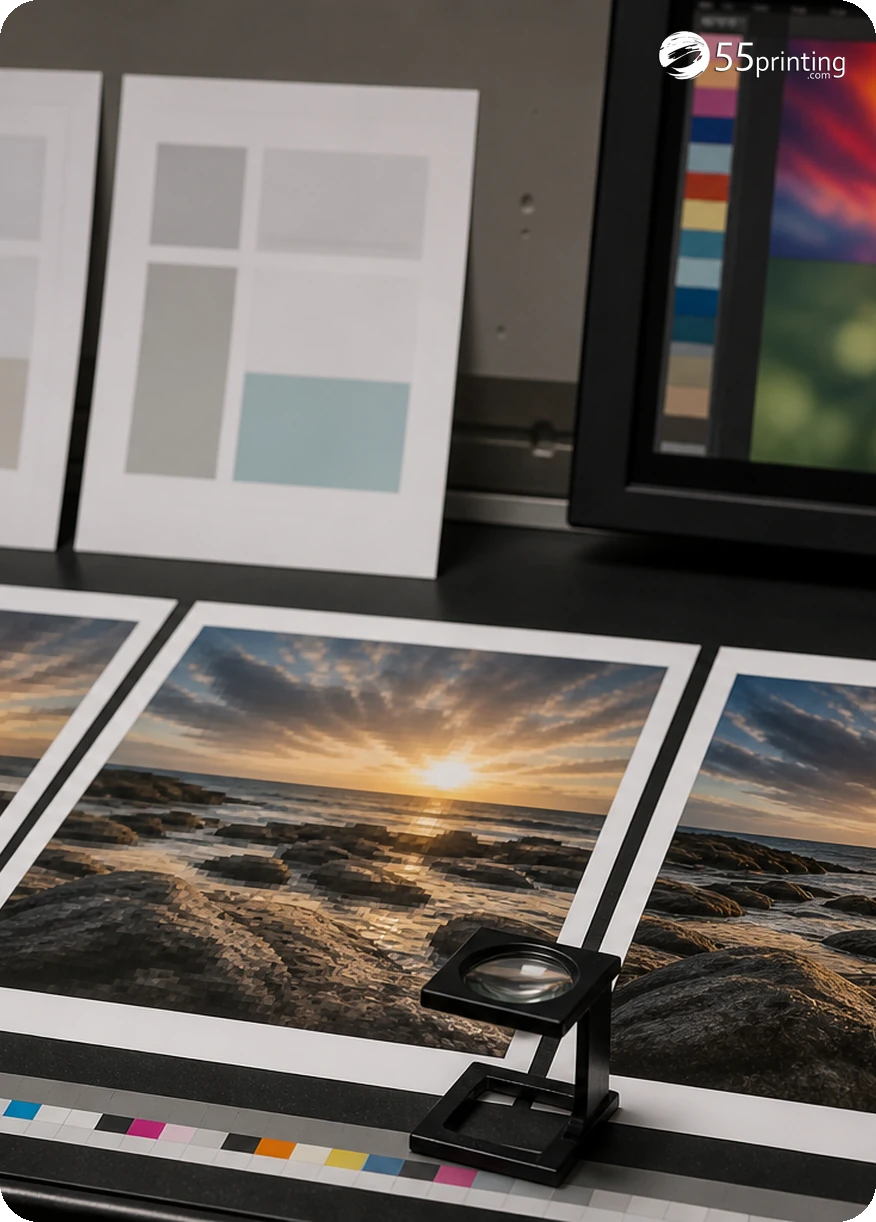
Compare the JPG with the source PDF page by page. Check that no edge is clipped, no page is rotated, and no text has become too soft to read. Inspect thin rules, small numbers, logos, QR codes, and gradients. If an important detail is unclear, return to the source or choose a different file role rather than approving the image from a thumbnail.
Open the image at the intended finished size and close zoom. A high pixel count can still hide a weak placed image. Write a short review note so the next person knows whether the JPG is a preview, a proof aid, or the requested handoff file.
Should you upload the JPG or keep the PDF?
Use the file type requested for the task. Keep the PDF when it is the authoritative layout or when vector type and shapes matter. Use a JPG when the workflow calls for a single raster page or a visual reference. If the instruction is unclear, keep both versions and identify their roles in the filename and note.
Review the matching guideline template for page size, bleed, and safe zone. Then use the File Uploader with the product and version in the note. The free PDF proof remains the place to compare the proposed artwork and layout.
Which PDF-to-JPG jobs need extra care?
Quick screen preview
Use a smaller export when the reader needs page order and broad layout. Check that the smallest important heading and contact detail remain readable.
Small type on a flyer
Use more visible detail when thin rules, small numbers, or a QR code must be inspected. Compare at finished size and close zoom.
Vector logo in a PDF
Keep the PDF as the source. The JPG can support review, but it turns the logo into pixels and may hide edge softness.
How do you check the DPI choice after the JPG exists?
Choosing 150, 300, or 600 is the decision this article explains. The exported JPG is the file that has to carry it. Open that JPG in Print Clear and read effective PPI at the print size, plus the size-fit signal. The hub listed those on October 9, 2026. Compare the PPI with the DPI you selected. A mismatch means the export setting and the pixel size did not land where you expected.
Print Clear does not push the JPG back into the PDF, and the PPI number is not a sharpness promise. Keep the original PDF for print. Use the JPG for the look you needed, and show both on the proof if the reviewer must see the raster.
Questions customers ask
What does DPI mean for PDF to JPG?
DPI describes how densely a PDF page is sampled into pixels. Pixel count also depends on the physical page size, so the same label can create different images for different products. Record the page size first, inspect small detail, and write the intended file role beside the export.
Is 300 DPI required for a print JPG?
No. The setting should match page size, smallest important detail, and file role. A higher setting cannot restore missing source detail, while a screen preview may need less detail than a close proof review. Follow the current job instruction and compare the result with the source.
When can 150 DPI be useful?
A smaller export can suit a quick browser or email preview when the reader needs broad layout information. Check headings, contact details, crop, and page order at the size the reader will use. Keep the PDF available when someone later needs to inspect fine detail.
When might 600 DPI be useful?
A higher setting can help when fine lines or small details need close inspection, but it creates a larger raster and does not repair the source. Confirm that the workflow needs the added detail, test a representative page, and compare the JPG with the original PDF.
Can high DPI fix a blurry PDF?
No. Export density cannot recreate detail that was absent from the source. Replace a weak placed image or keep a vector/source asset when an exact logo, QR code, or small word must remain readable. Record the limitation rather than describing a larger file as a repaired source.
Should I keep the PDF?
Yes, keep it when it is the authoritative layout or contains vector type and shapes. Treat the JPG as a named review or raster copy unless the destination requests a JPG. This preserves a source that can be checked if the export shows softness, crop, or color questions.
How do I inspect the export?
Check page order, orientation, crop, dimensions, small type, thin lines, logos, QR codes, and gradients at normal size and close zoom. Record the version and keep the PDF beside it. Review the page in its intended product context before calling the export ready for handoff.
What should I upload?
Use the file type requested for the job. If the instruction is unclear, keep both PDF and JPG, identify the source in the filename, and state which file is the review copy in the upload note. Use the template and proof paths before a production decision.
Confirm finished size, inspect the smallest detail, and keep the source PDF traceable.