

AI Uncrop Free Path: Add Print Bleed Without Guessing
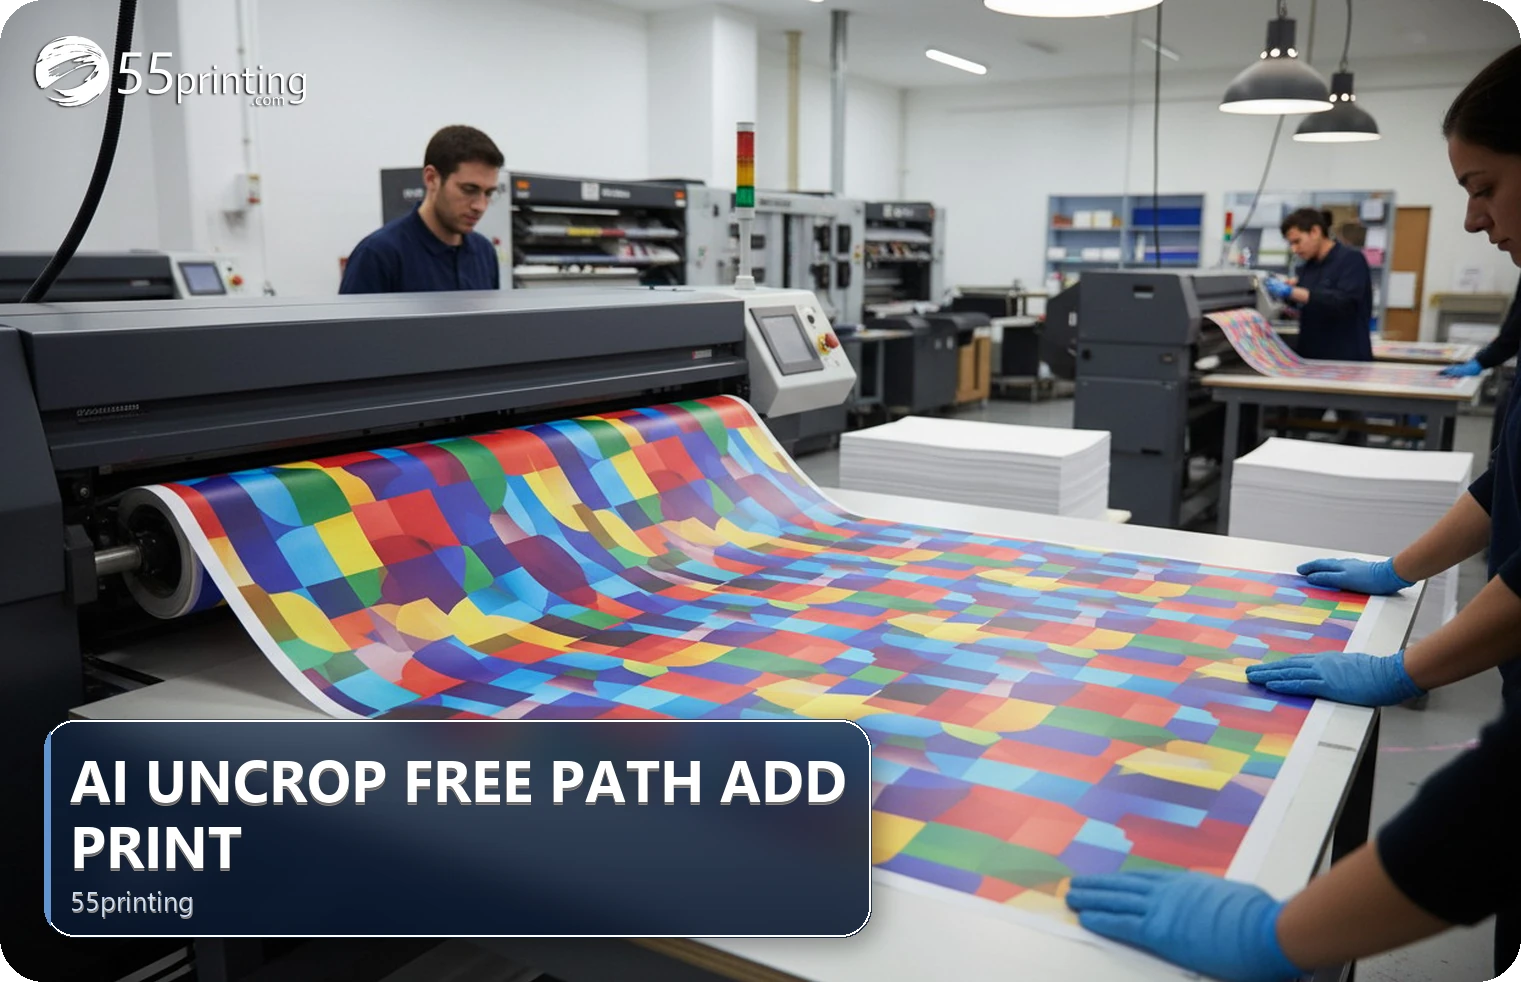
Use the free AI Uncrop path for a suitable background that needs room beyond trim. Preserve the source, confirm the product canvas, test one edge, inspect generated texture and exact subjects, and keep text inside the safe zone. The free route does not prove that a generated edge is factual, private, or production-approved; compare the result in proof.
A background that ends at trim can leave a sliver after cutting. The 55printing AI Uncrop free route can be a first test when the missing area is a plain sky, wall, color, or pattern. It cannot set a product canvas, protect exact text, or turn an invented edge into an approved design.
Which edges fit a free AI Uncrop test?
Identify the product, edge, and finished size first. A flat color or simple texture is easier to inspect than a face, product package, logo, QR code, or line of type. Save the source and mark what must remain unchanged before starting the test.
- Confirm product and orientation.
- Keep text inside the safe zone.
- Classify the edge as background or exact subject.
- Record the version and edge being tested.
How should you run one free edge test?
Open the current route, use a copy, and follow the visible controls. Run one edge at a time so the result has a clear reason and comparison. Save the output with a product and version name. Do not treat a download or a smooth thumbnail as a proof of quality.
| Edge | First response | Review risk |
|---|---|---|
| Plain color or sky | Run a small test | Banding or repeat texture. |
| Pattern or wall | Test with close zoom | Visible seams or repetition. |
| Face or hand | Use manual layout | Changed anatomy. |
| Logo or QR | Protect and rebuild | Invented exact mark. |
| Text at trim | Move into safe zone | Bleed cannot protect copy. |
What should you inspect in the generated bleed?
Look along the new strip for seams, repeated objects, bent lines, changed faces, invented letters, and texture that competes with the original. Compare the source, output, and product canvas at normal size and close zoom. Reject the output if the new area changes meaning or the original subject.
- Compare the original subject.
- Check background coverage beyond trim.
- Inspect exact marks and faces.
- Check crop and safe zone.
- Save a named version.
- Request proof before approval.
How do you move a tested edge into proof?
Check the matching guideline template for canvas, bleed, and safe zone. Then use the File Uploader with the edge and version in the note. Compare the free PDF proof with the original and generated copy before approval.
Which free edge jobs need extra care?
Plain sky on a postcard
Test the edge and inspect for banding or repeated texture. Keep important copy away from trim.
Portrait at the flyer edge
Prefer a crop with more room or manual editing. Do not let generated anatomy decide the subject.
Pattern behind a menu
Check repetition and text contrast. A background fix cannot correct a wrong product canvas.
Where does a sideways photo go before the one free edge test?
The free path in this article spends its one test on a single edge. If the photo is rotated, that test grows the wrong side. Open Rotate Files first. Hub text checked October 9, 2026: it turns a PDF, JPG, or PNG 90, 180, or 270 degrees in the browser and does not upload the file. Turn a copy until the design’s top is the file’s top, then run the one edge test.
Turning a file does not create bleed and does not change pixel dimensions. Keep the turned copy with the inspection steps already written here, and send that copy to the proof. Leave the sideways original out of the uploader.
Questions customers ask
What is the free AI Uncrop path for?
It is a reasonable first test when a plain background needs extra room beyond trim. Preserve the source, confirm the product canvas, inspect the generated strip, and reject the result if it changes a face, product, logo, QR code, or wording.
Does AI Uncrop create print bleed?
It can extend suitable background artwork beyond a trim edge, which is one part of a bleed workflow. It does not set the finished product, protect text, or approve the layout. Check the template and proof after the edge test.
Can I use it on a face?
Use caution and prefer a crop with more source room or manual editing. A face, hand, or product edge carries exact visual meaning, and generated anatomy can change it. Compare the subject with the source before any proof or handoff.
Does the free route mean private processing?
No. A free label or route name does not prove where a file is processed or how it is retained. Read current handling language before uploading sensitive artwork and use a reduced copy or different workflow when project policy requires it.
How do I inspect the edge?
Check the new strip for seams, repeated textures, bent lines, invented lettering, altered faces, product changes, and contrast problems. Review at normal reading size and close zoom, then place the result on the correct product canvas before proof. Compare the full design at finished size.
Can it fix a wrong product size?
No. Edge extension does not replace a product template or change a wrong canvas. Confirm size, orientation, bleed, and safe zone first. Once geometry is correct, decide whether the remaining defect is suitable background coverage. Correct geometry comes before generated pixels.
What if the generated edge changes a logo?
Reject the output and return to the approved source or manual rebuild. A smooth invented mark is still wrong. Keep the original, identify the changed region in the note, and request a proof only after the exact logo has been restored. Do not approve it because the edge looks clean.
What should the upload note say?
Name the product, version, edge changed, source file, and specific proof check. Say that the generated strip needs review. Clear notes help the reviewer focus on the change while still checking crop, text, logos, page order, and safe zone. Include the accepted or rejected version.
Test suitable backgrounds, protect exact subjects, and connect the result to template, upload, and proof review.